Phase 1: AI Landing Page Generation Wizard (4 Steps)
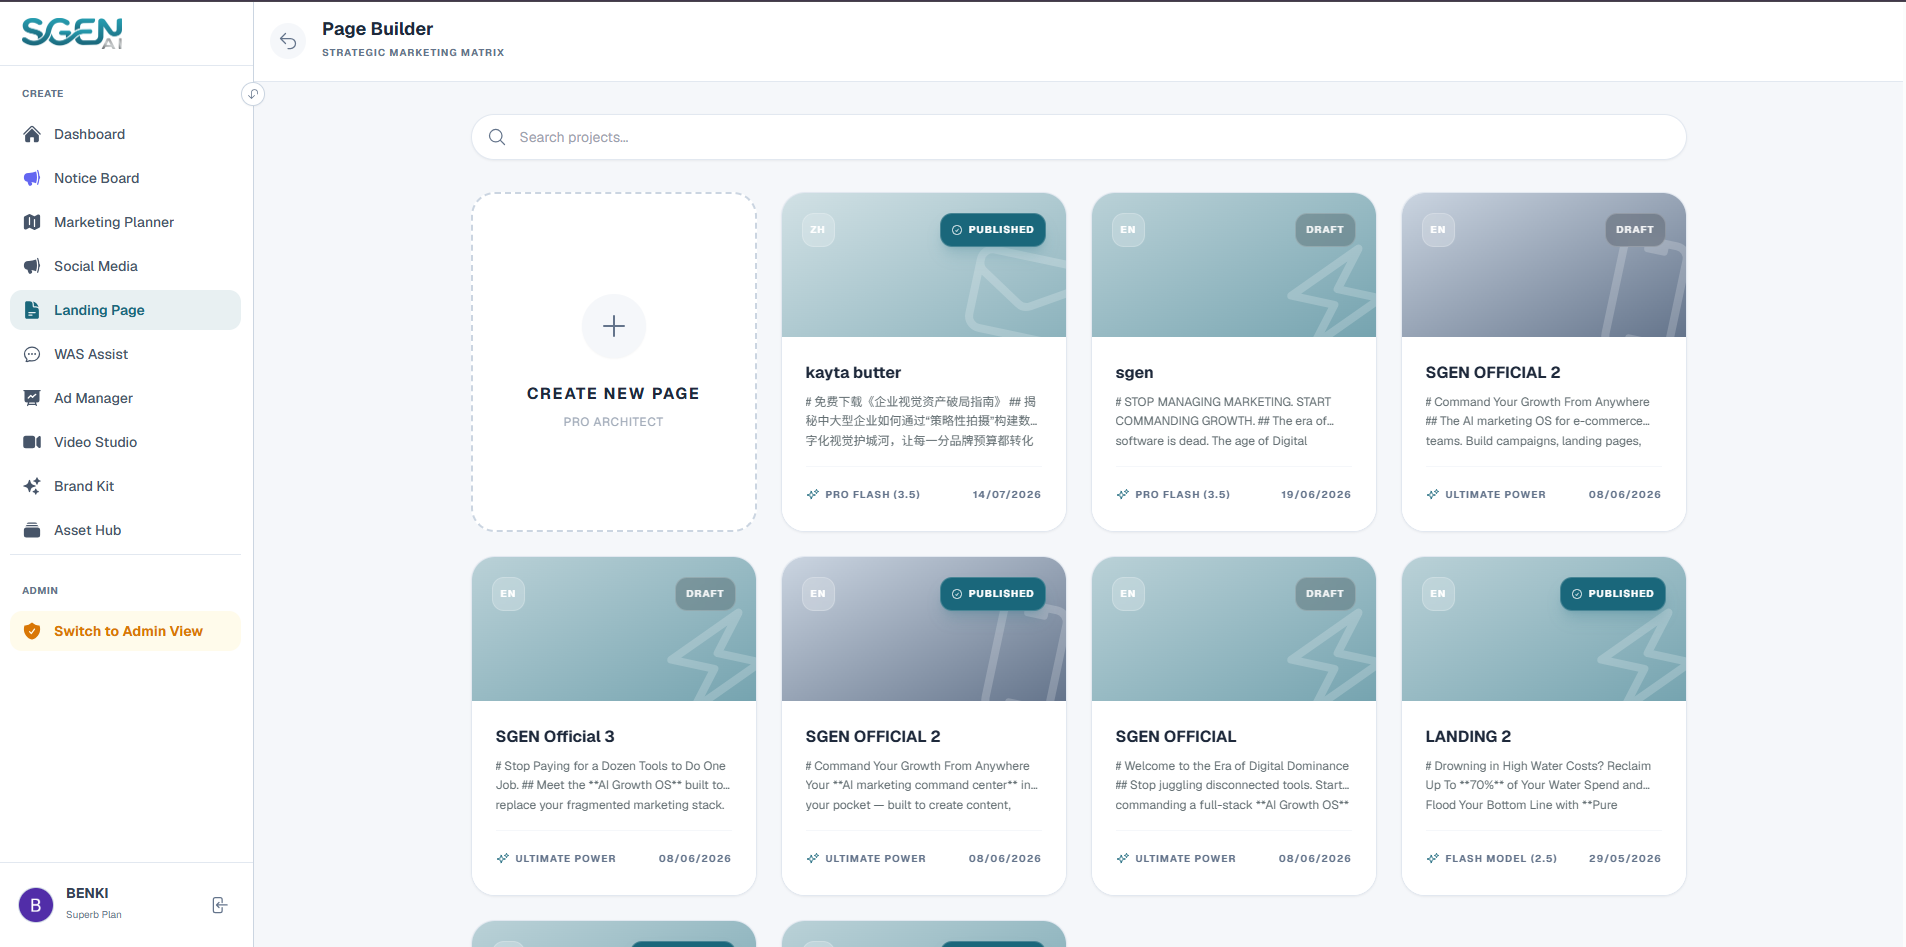
Click "+ Create New Landing Page" in the upper-right corner of the workspace dashboard to initialize the 4-step wizard:
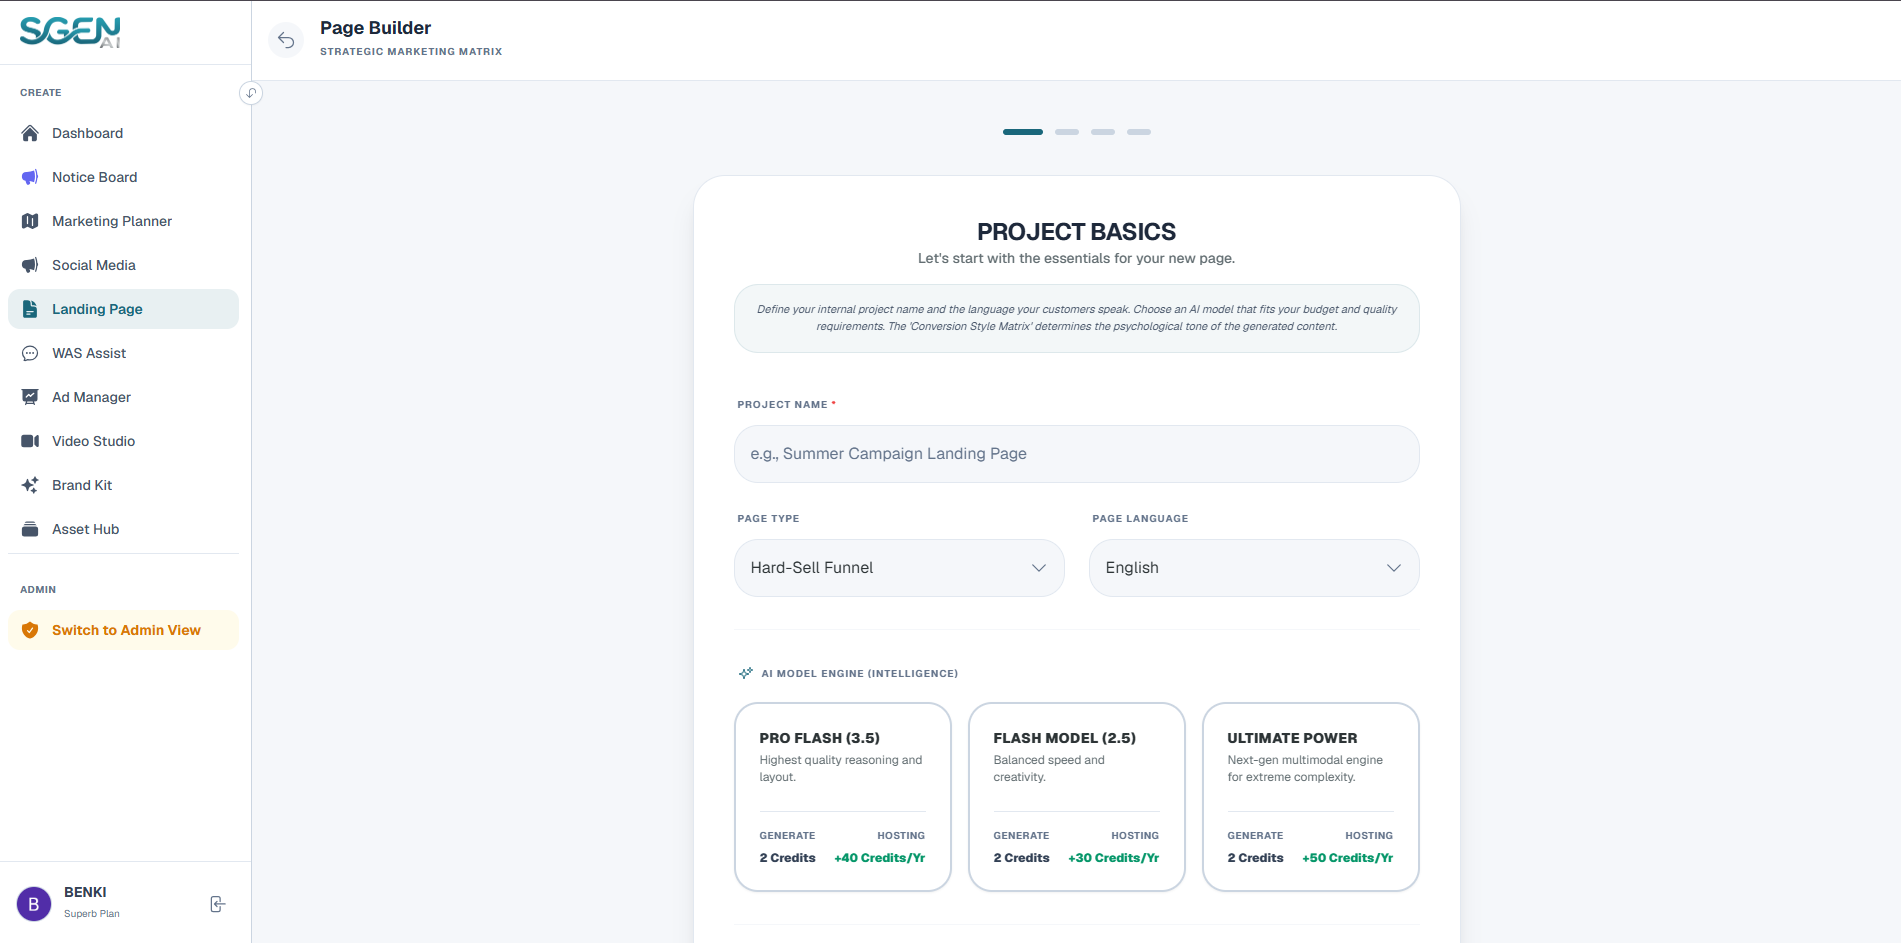
Configure the primary metrics and parameters for your project:
- Project Name Input a title to identify the page inside your backend directory (required).
- Page Goal / Type Select your landing page conversion funnel model:
- Hard-Sell Funnel Designed for direct sales conversion with strong call-to-actions, product features, and price details.
- Copywriter's Letter A text-rich, long-form editorial sales letter style focused on storytelling and building high trust.
- Lead Magnet Capture Optimized for lead collection by offering free resources (e.g. e-books, discount vouchers) in exchange for customer contacts.
- Webinar / Event Hype Focused on event RSVPs, schedules, speaker lists, and calendar booking reservations.
- App/SaaS Spotlight A sleek modern theme highlighting software features, application screenshots, and app pricing matrices.
- Target Language Select the language presented to your visitors.
- AI Model Engine Click to select an AI model card. Each card displays the generation credit cost and the annual hosting credit cost.
- Conversion Style Matrix Choose between Standard Matrix - A (balanced, value-driven logical copy structure) or Aggressive Matrix - B (⚡ styled urgency-driven emotional trigger strategy designed to maximize instant conversions).
 Action: Click "Next" to proceed.
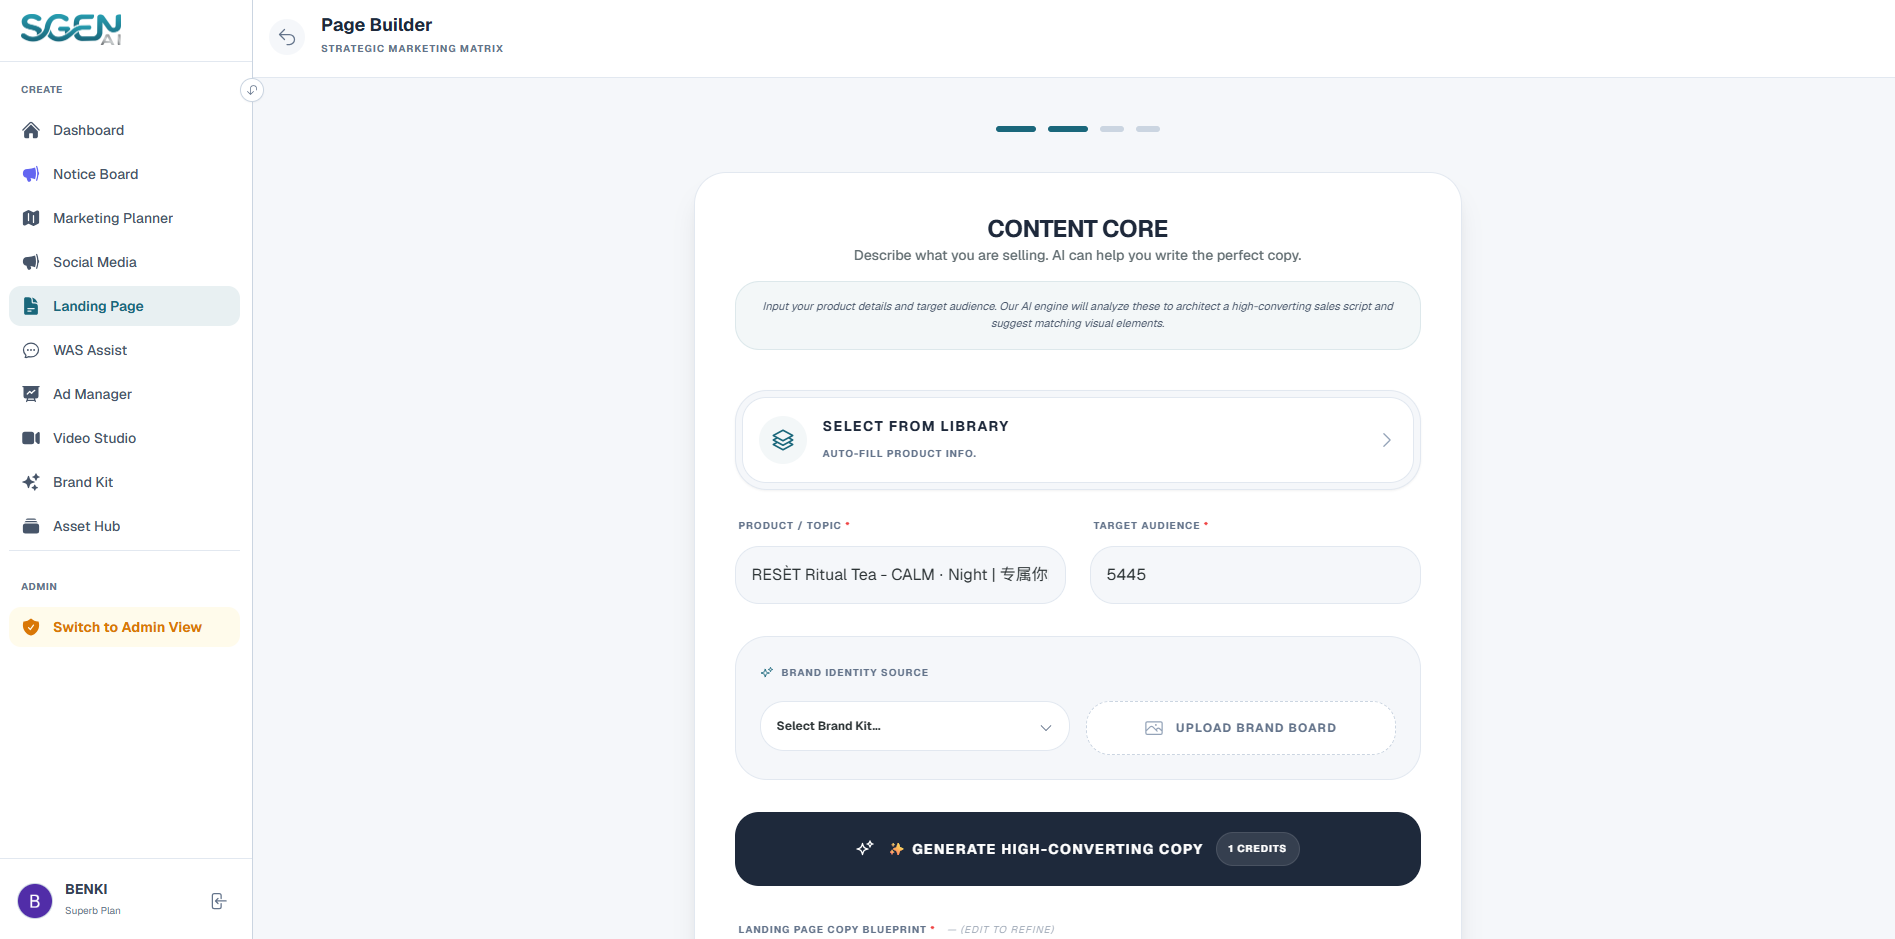
Formulate the copy blueprint and visual directions for the AI layout builder:
- Import from Asset HUB (Optional) Click "Select From Library" to link products. Sgen AI auto-populates product details and maps custom Target Audience tags.
- Manual Entry Fill in the Product Name and Target Audience fields manually.
- Brand Identity Source Link preset brand configurations from your Brand Kit, or upload custom logos and mood boards.
- Generate High-Converting Copy Click the main button to prompt the AI to draft a detailed Product Copy Blueprint inside the editable text area.
- Suggested Visuals & Color Palette Sgen AI extracts Primary and Secondary hex colors and outlines visual hooks matching your niche. Click "Apply Design" to map these automatically into Step 4.
 Action: Click "Next" to proceed.
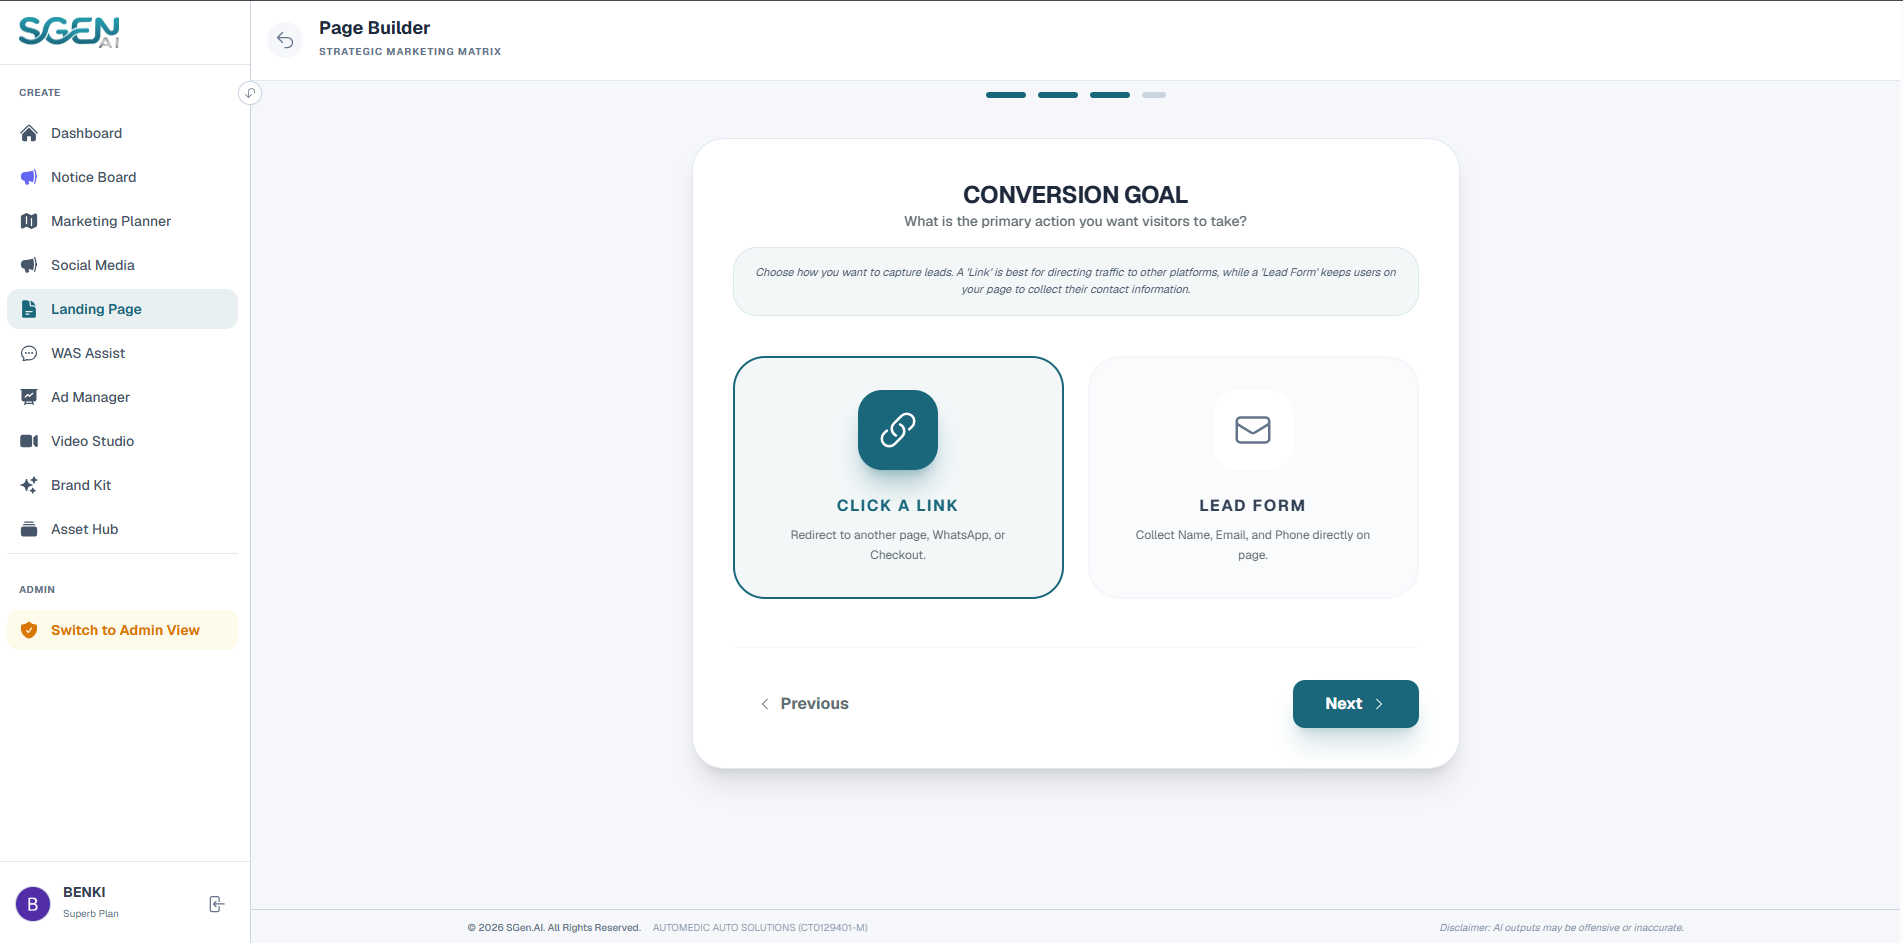
Choose the call-to-action (CTA) trigger mechanism for your page:
- Click Link Action (Button Redirect) Embeds CTA redirect links directing traffic to external checkouts or WhatsApp channels.
- Lead Form Action (Form Embed) Integrates a customizable registration form to capture customer names, emails, and contact tags directly.
 Action: Click "Next" to proceed.
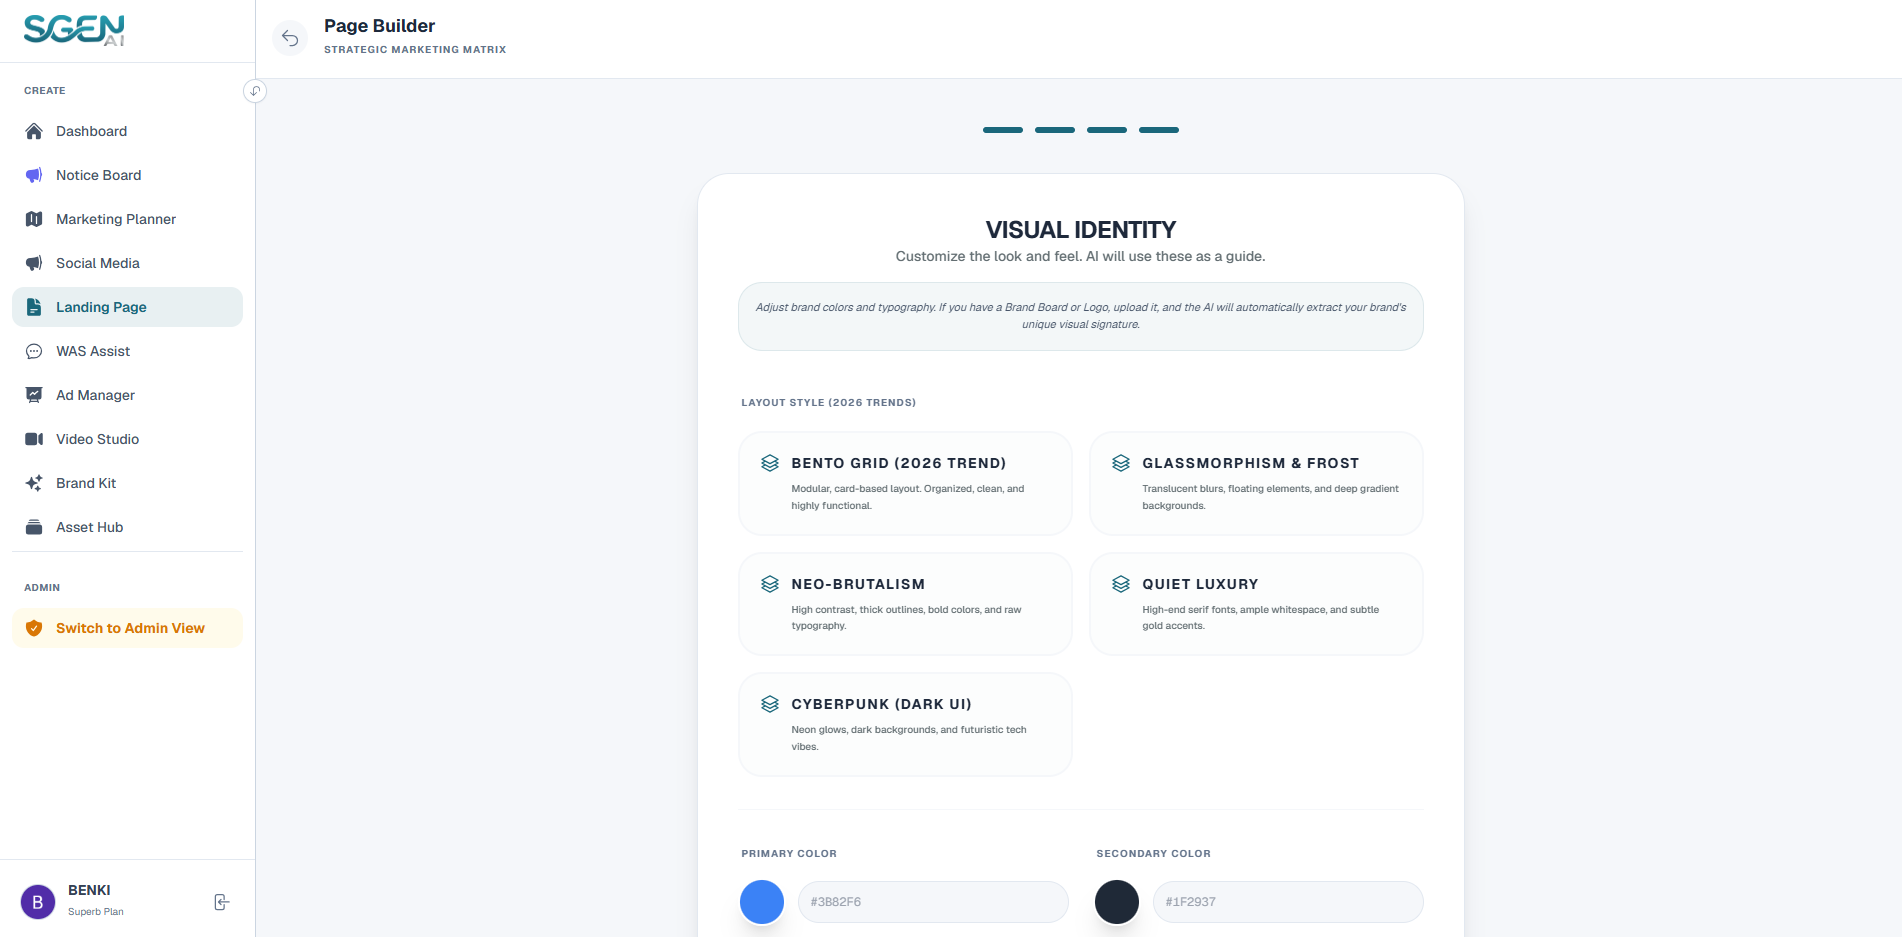
Designate final visual layouts and custom styling codes:
- Layout Theme Select design styles like Bento Grid (modular bento card layouts), Glassmorphism & Frost (semi-transparent grids over dark gradients), Neo-Brutalism (high contrast blocks with heavy borders), Quiet Luxury (premium serif typefaces and low-key accents), or Cyberpunk (neon glowing dark tech presets).
- Color and Style Rules Verify the Primary and Secondary hex color codes (auto-filled if you clicked "Apply Design" in Step 2).
 Action: Click "Generate Landing Page" to start the AI coding pipeline.
Phase 2: Visual HTML Editor View
Once the AI completes the page generation, you will be redirected to the interactive HTML Editor workspace:
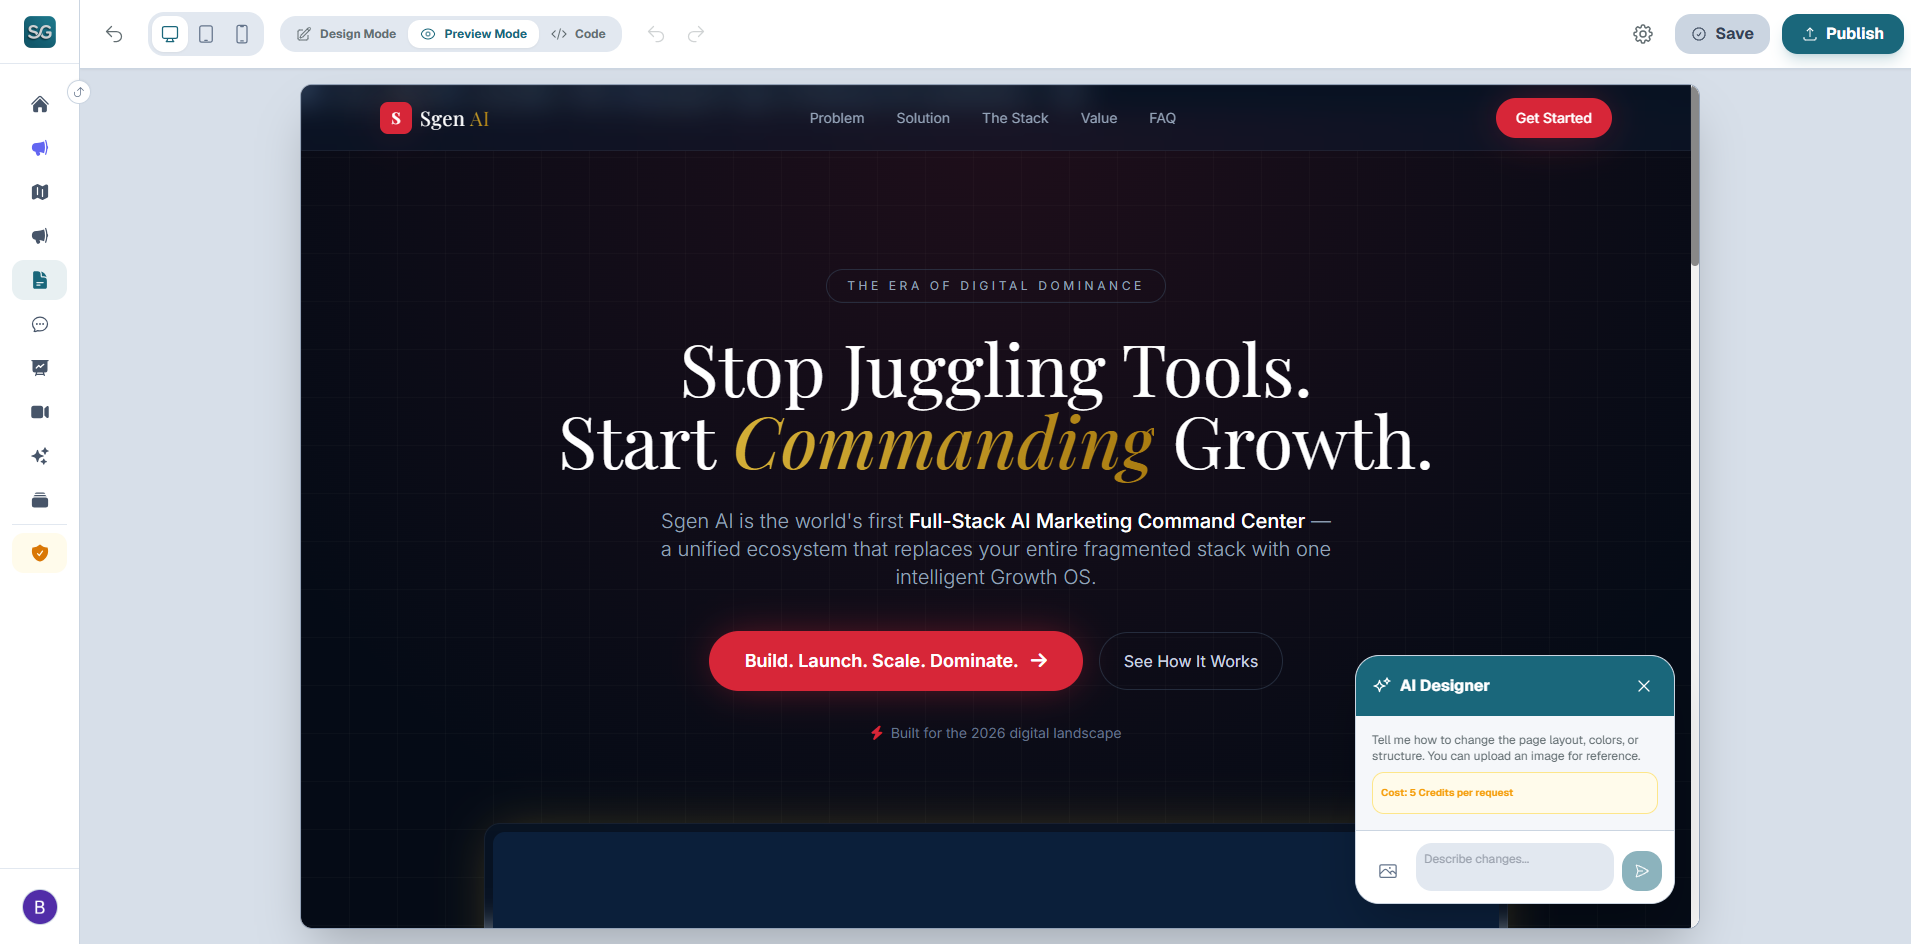
Interactive Design Mode Guide
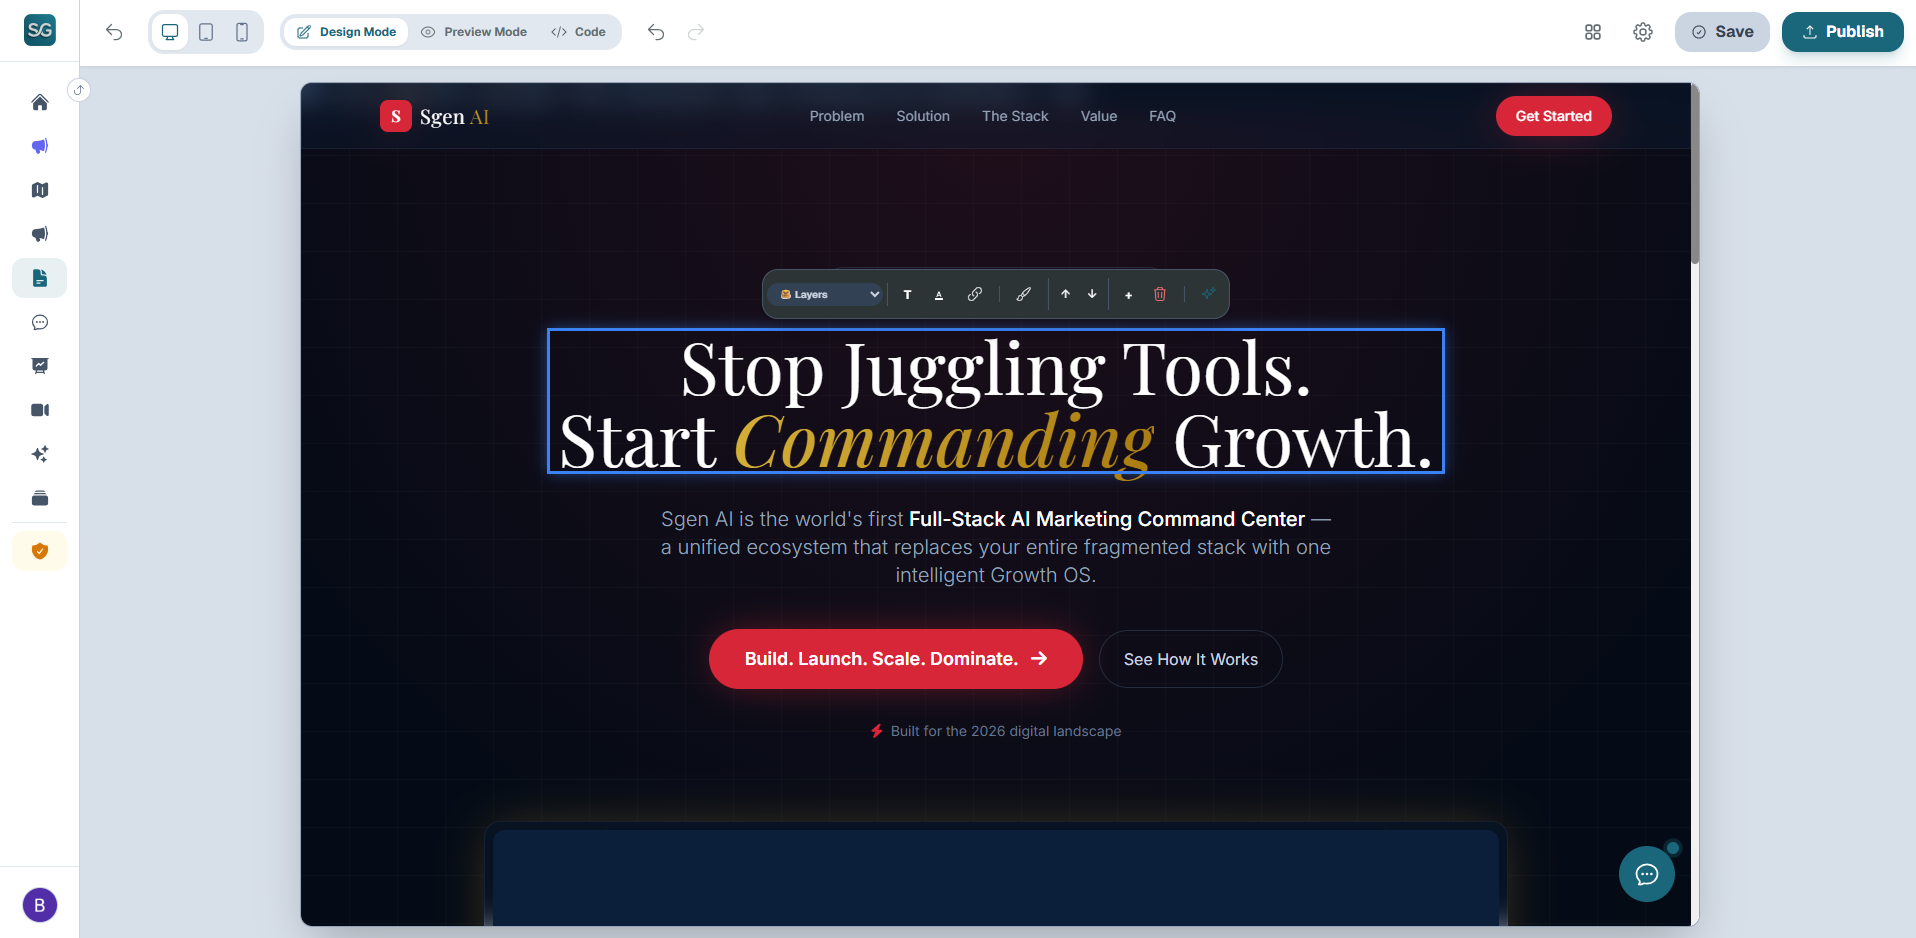
Switching the editor to Design mode enables click-to-edit capabilities directly on your landing page. When you select any page block, a blue border indicator appears alongside our contextual toolkits.
1. Floating Toolbox Functions
Clicking any element displays our floating toolbar options (from left to right):
- Layers Select ancestor container blocks (e.g., Title → Div container → Section parent grids) to adjust wider parent containers easily.
- Text Edit (T) Activates direct typewriting mode to modify, delete, or rewrite textual copy on the spot.
- Text Color (A) Opens color palettes or accepts custom Hex color codes to change the selected text color.
- Link Management (🔗) Opens target URL settings to bind redirection paths or delete hyperlinked structures.
- Style Settings (🖌️) Opens style models to configure custom colors, cover images, and overlays.
- Move Up (↑) / Down (↓) Re-orders components or child tags within their parent containers.
- Duplicate (+) Copies and inserts a duplicate container layout alongside the chosen element.
- Delete (🗑️) Instantly removes selected blocks or elements from the landing page.
- AI Smart Edit (✦) Triggers context-aware Gemini prompts to rephrase, shorten, or polish selected copy segments.
2. Sidebar Navigator Tree
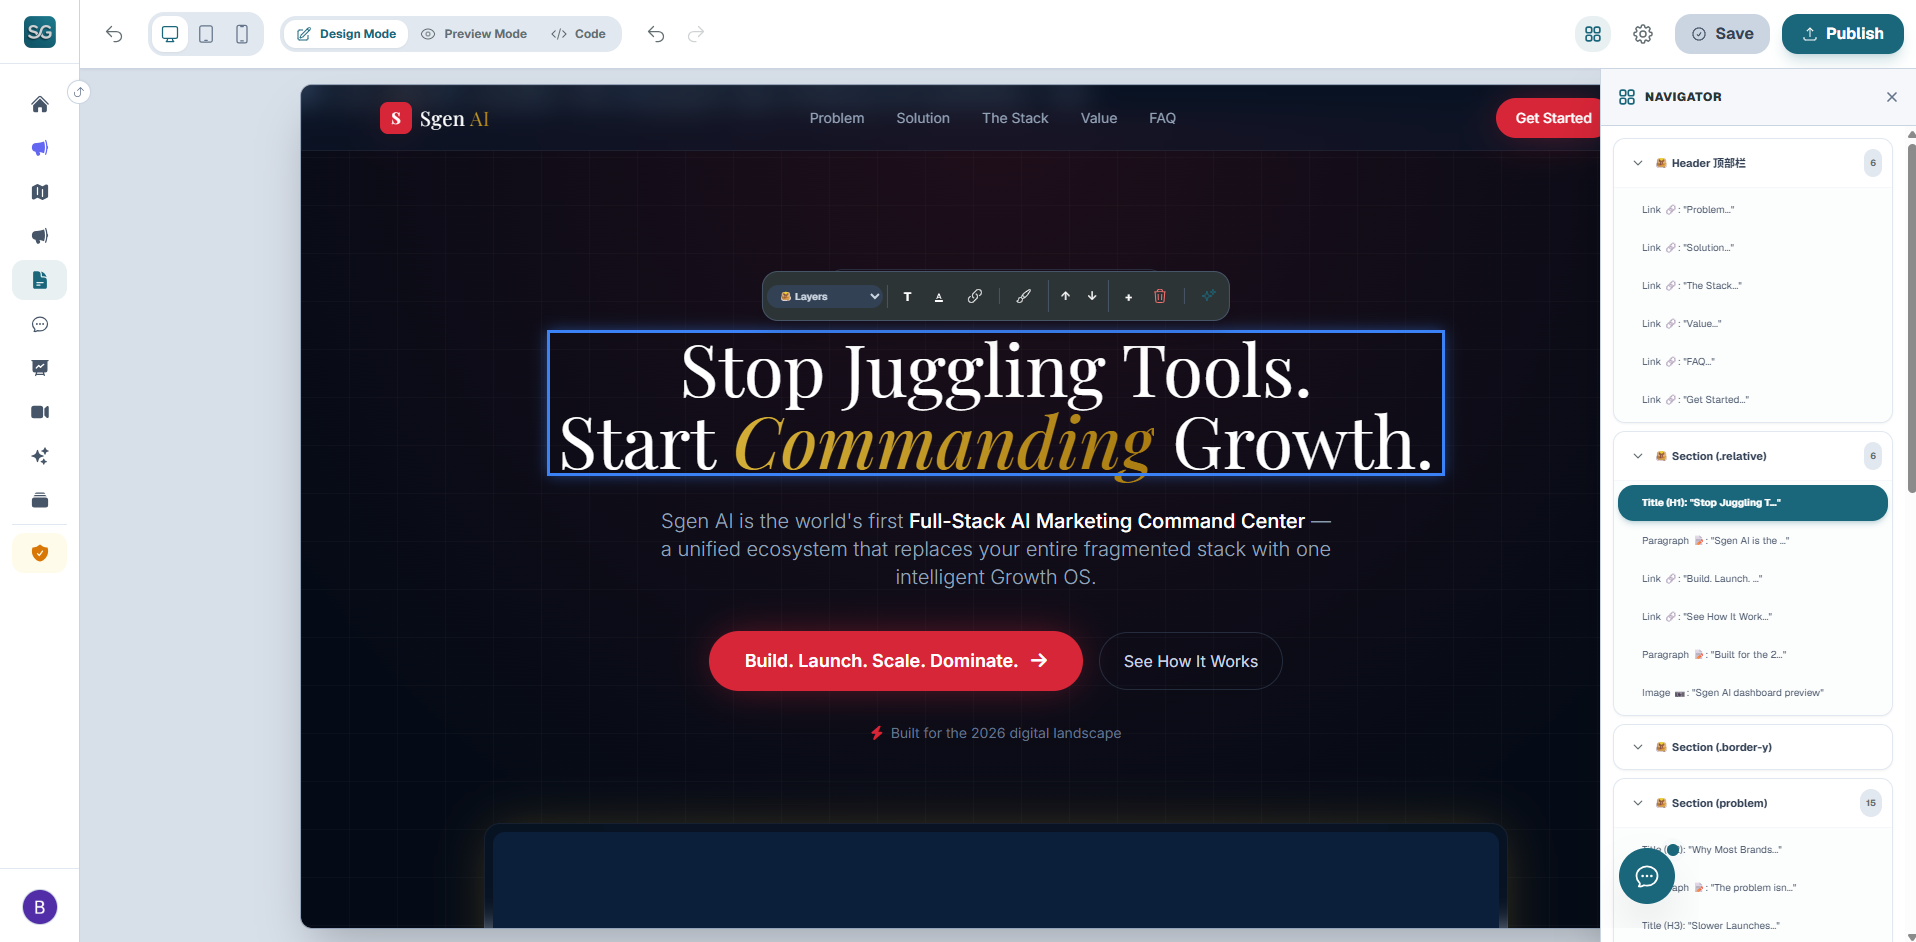
Click the Grid icon in the upper-right corner to toggle the HTML structural hierarchy panel:
- DOM Tree Structure Collapses or expands child layout nodes (Headers, Sections, Titles, Images, Forms, Buttons) to inspect clean skeletons.
- Hover Highlights Moving your cursor over navigation nodes creates dashed purple borders around corresponding page layouts in real-time.
- Quick Focus Anchor Click navigation tree elements to scroll the viewport and anchor focus on selected blocks automatically.
3. Image Replacement Modal
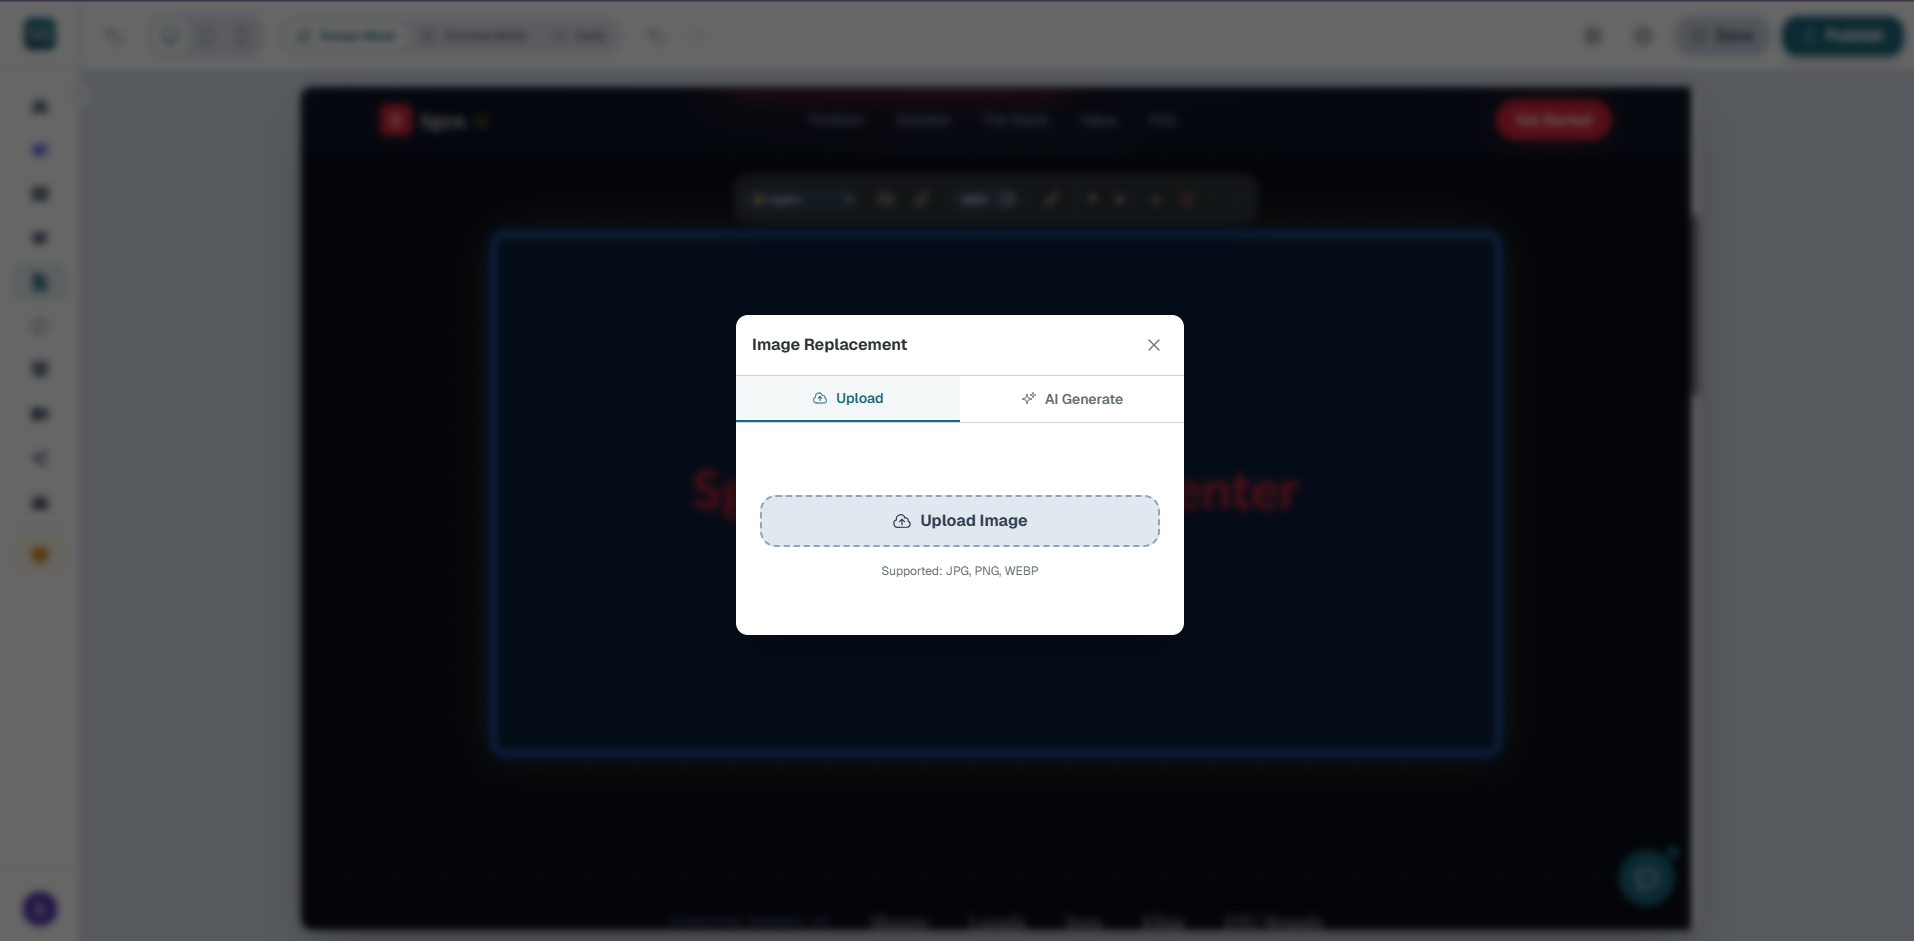
Selecting any image block opens the upload and generation settings:
- Local Upload Upload local images. Sgen AI compresses files and hosts them on cloud Firebase storage buckets.
- AI Generation Describe your illustration concepts (e.g., "high quality mockup laptop on a desk, tech blue theme"). Sgen AI calls Gemini models to draw license-free HD assets.
- Size Bounds Set layout dimensions in pixels (e.g., 350px) or percentage multipliers (50%, 100%, Auto).
4. Background Styles & Text Legibility overlays
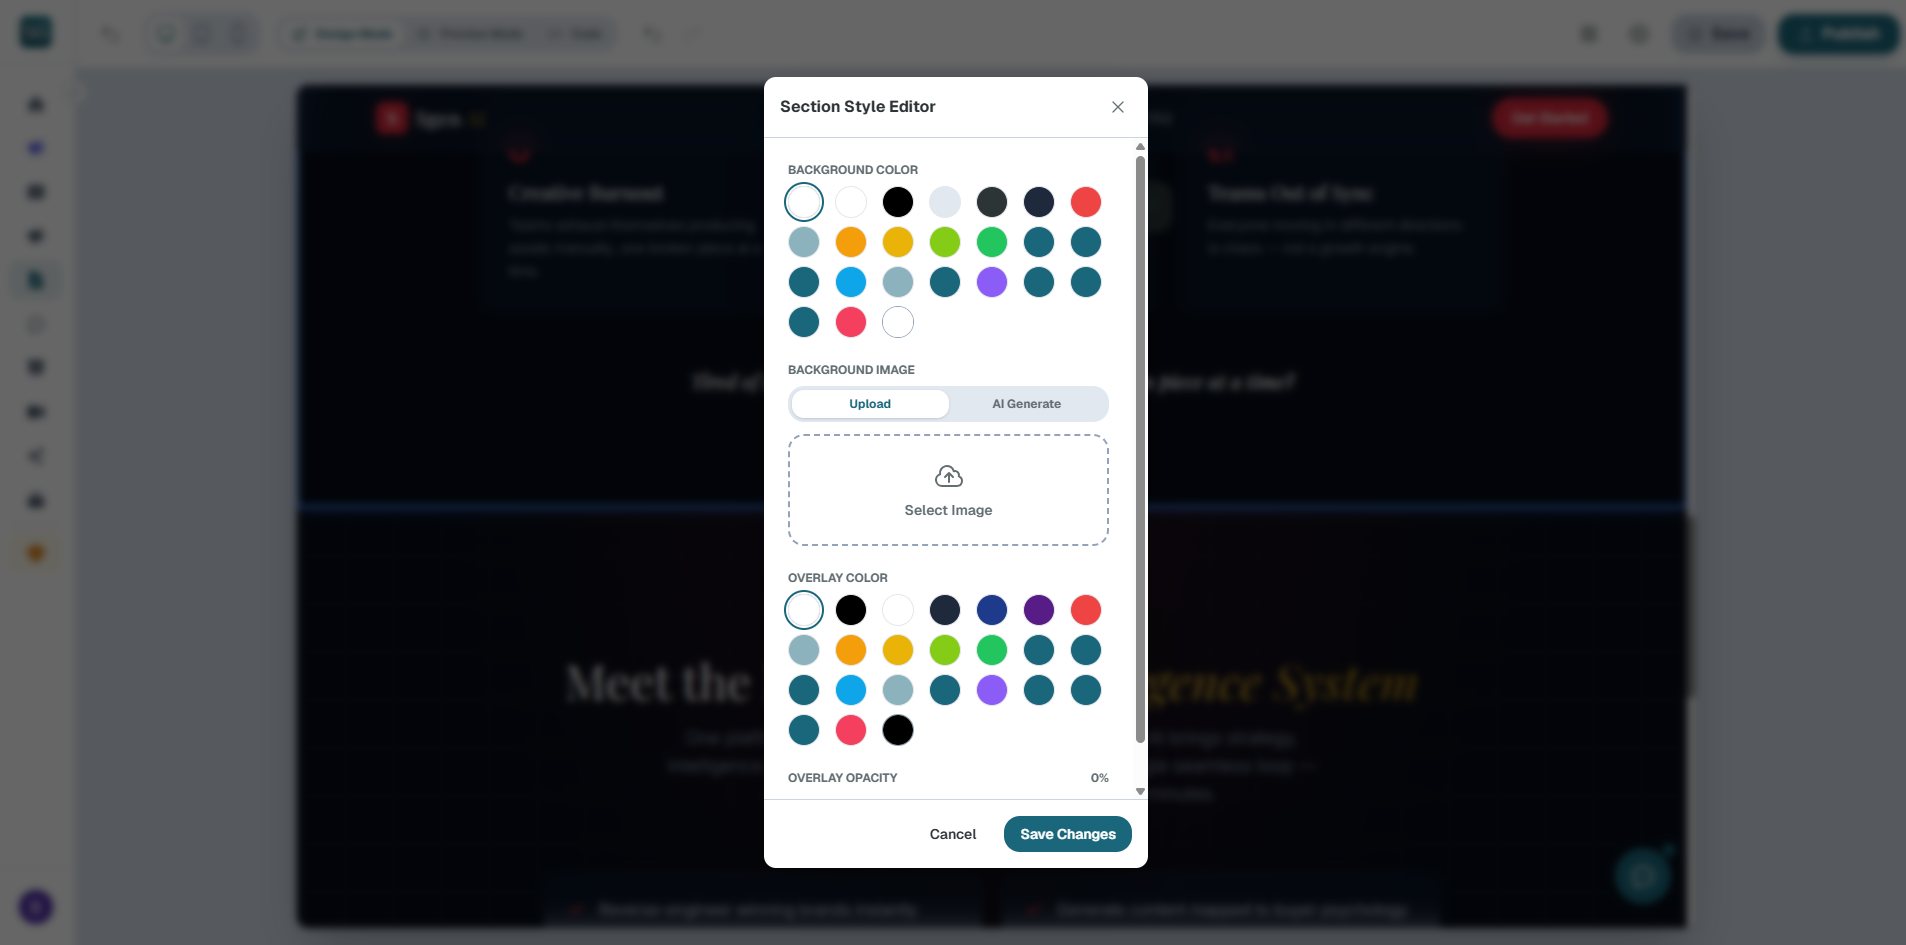
Clicking the paint brush 🖌️ tool on parent Section grids opens background settings:
- Background Colors Select Tailwind classes or input custom Hex hexes.
- Cover Images Upload texture backdrops or generate abstract patterns via AI prompts to wrap blocks in cover mode.
- Opacity & Dark Overlays (Legibility Protection) Enable dark color overlays and drag opacity sliders (10% to 90%) to darken backgrounds. This secures contrast requirements so white overlay copy remains highly readable.
5. AI Modify (LITE) Local Polish Tool
The sparkles ✦ icon button on the far right of the floating toolbox triggers our inline text optimizer:
- Activation Prompt Select any text box on the canvas, then click the sparkles ✦ icon to toggle the AI Quick Edit Box.
- Instruction Entry Type your specific rephrasing or translating command (e.g., "rewrite this heading to sound more professional", "translate this line to Chinese").
- LITE Model Apply Click "Apply" to let our lightweight (LITE) model run instant local rewrites without re-rendering the whole page layout.
Phase 3: Publish, Hosting & Analytics
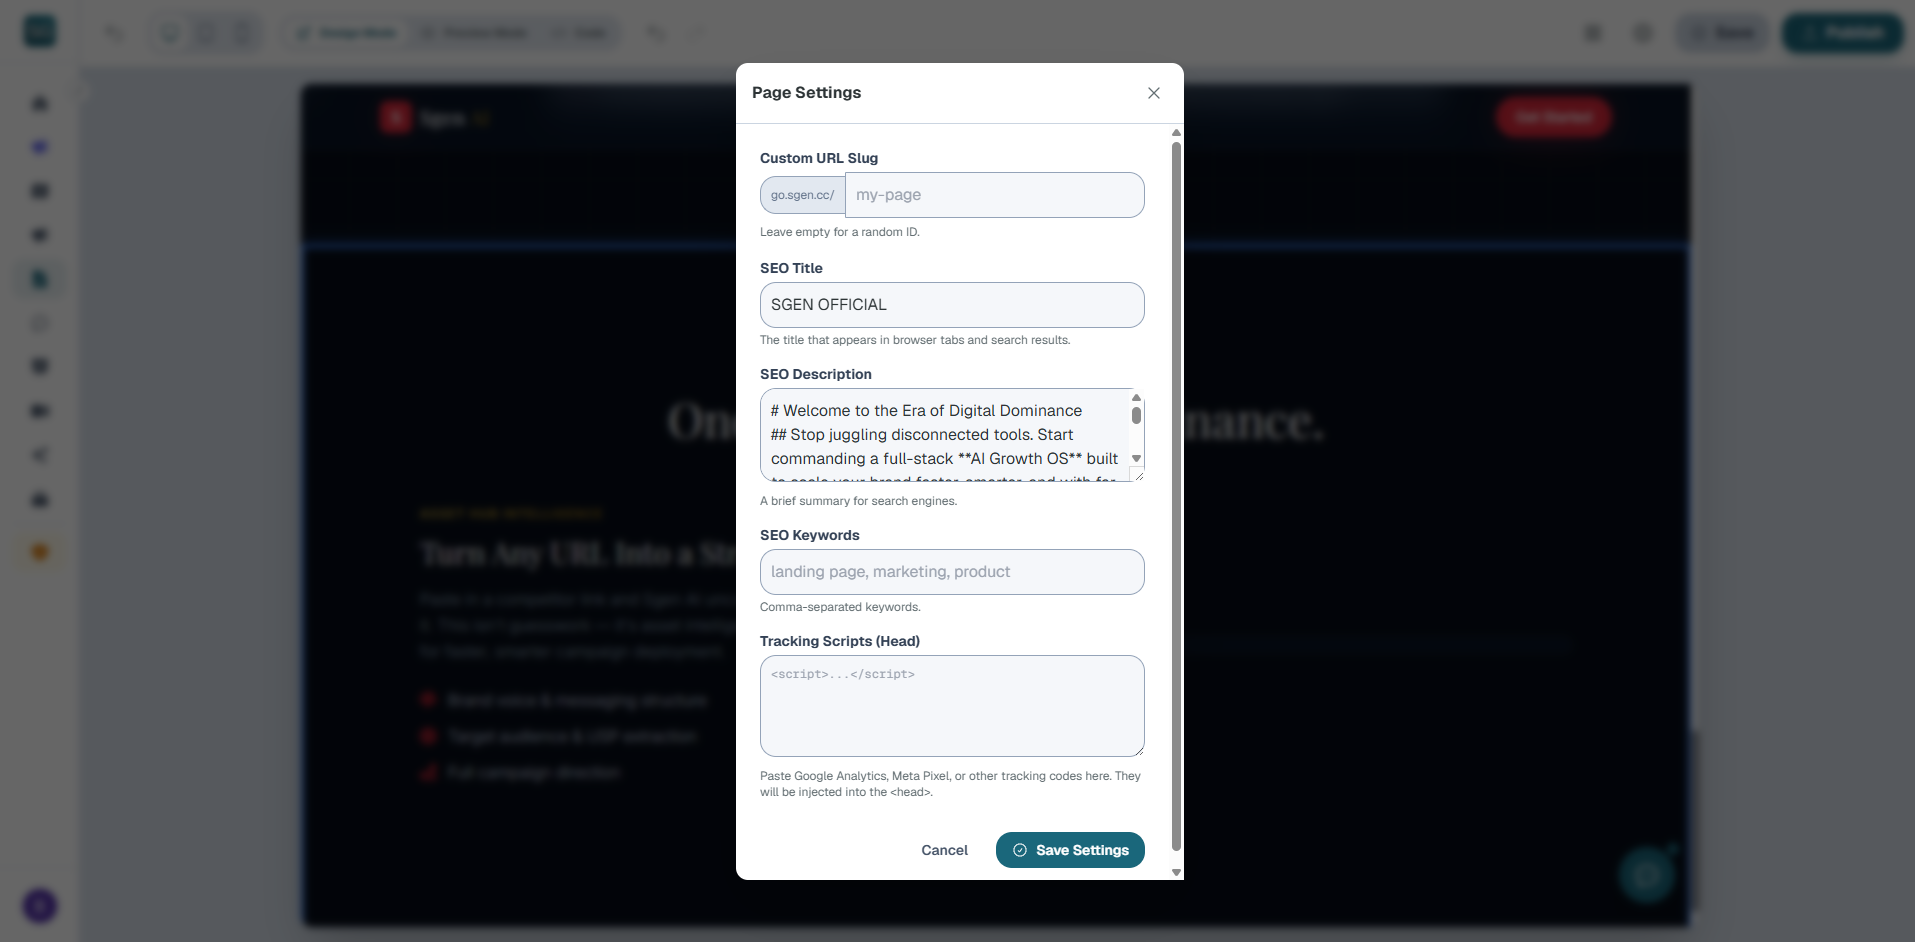
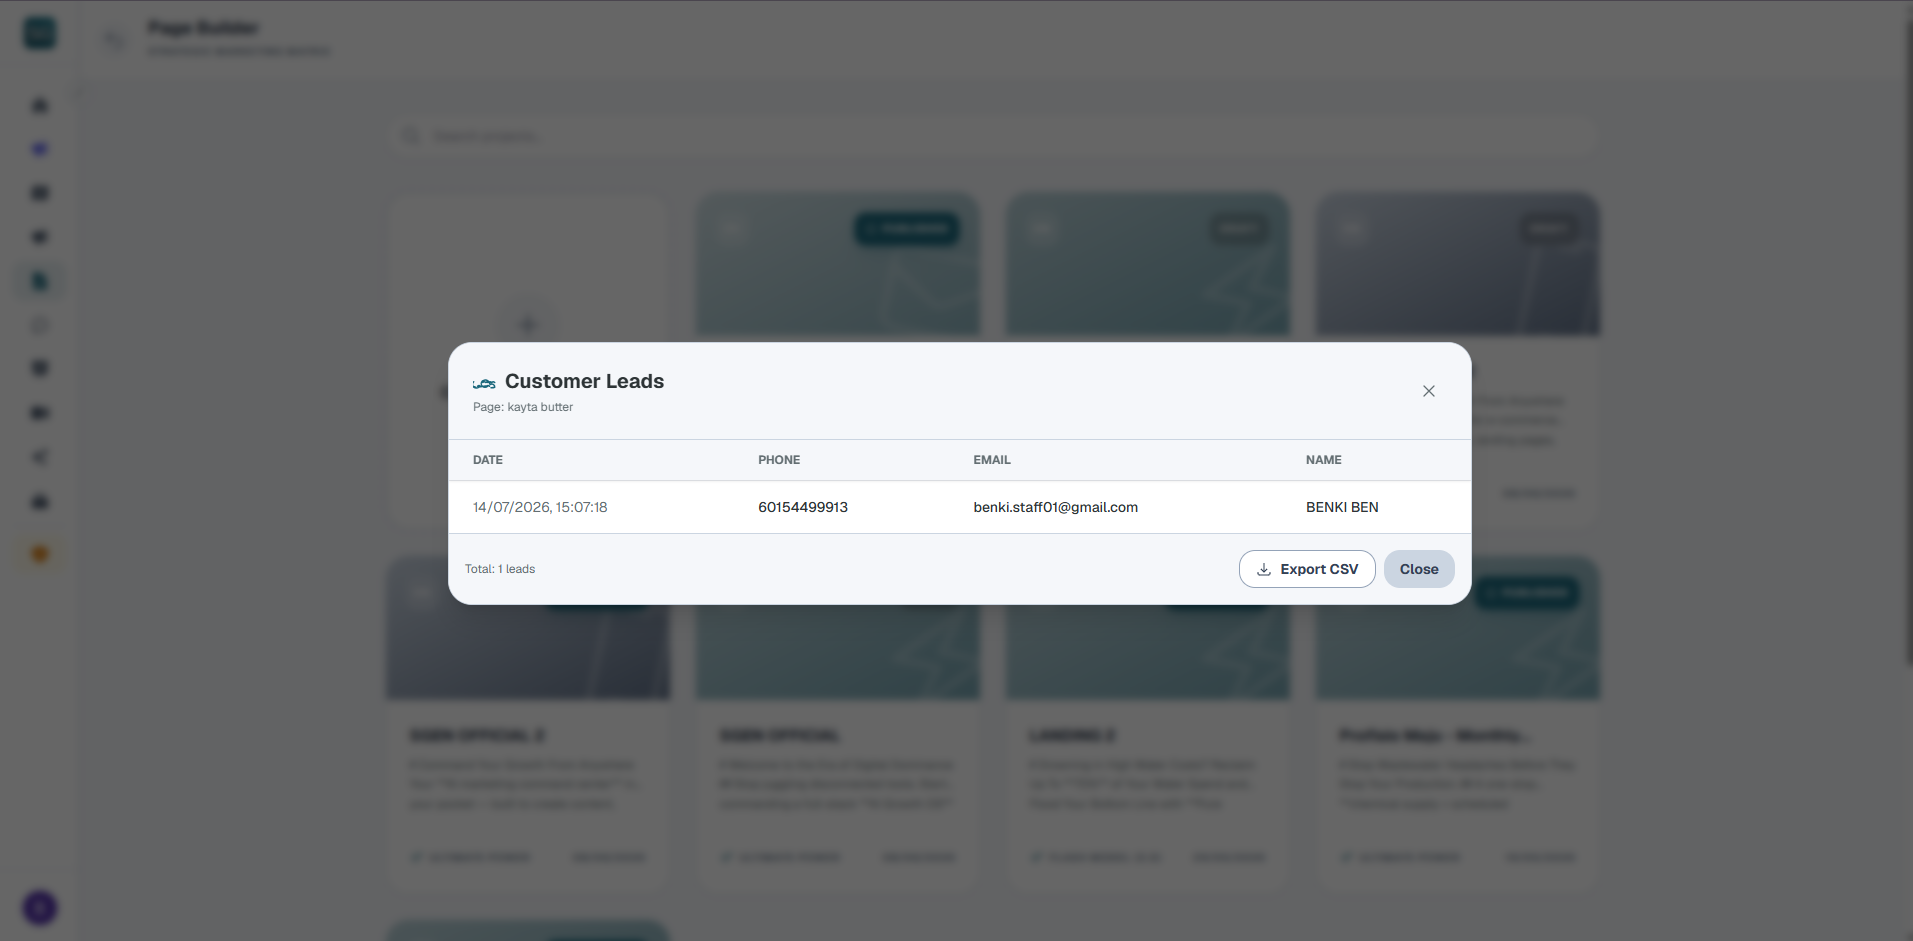
Track metrics and publish live pages to customer segments: