Back to Features Guide
.png)
.png)
.png)
.png)
Phase 1: Topic History View
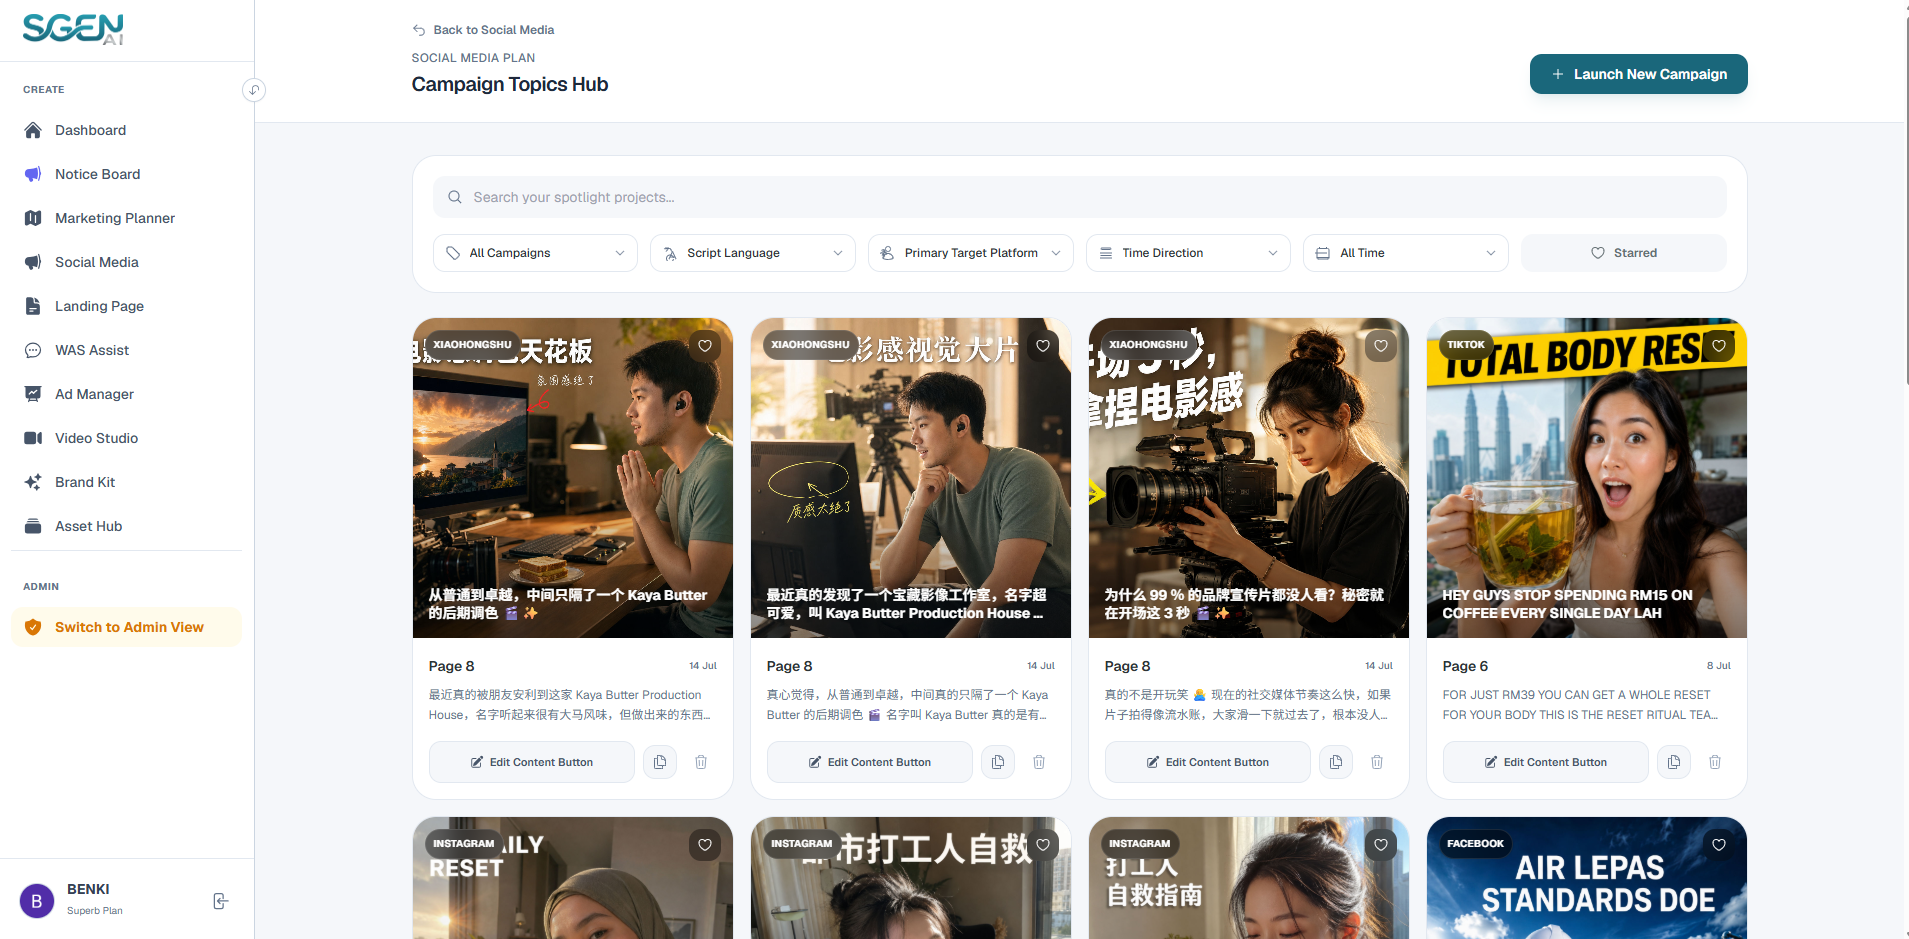
When entering the module, you default to the main Topic History listing page.
1. Locate & Filter Historical Posts
Search and isolate campaign content using parameters on the header:
• Search Bar: Type inside the search field to filter posts dynamically by headline keywords or description content.
• Show Favorites Toggle: Click the heart icon "Show Favorites" to isolate bookmarked templates.
• Multi-Select Dropdowns: Click "All Topics" to filter by active products, "All Platforms" to sort by channels (Instagram, Facebook, LinkedIn, X, TikTok), and "All Languages" to sort by translation profiles.
2. Card Management Shortcuts
Click on any post card list item to perform quick operations:
• Mobile Render Layouts: Click any blank space on the card or click "Preview" to load the Post Preview Modal detailing formatting layouts and illustration placements.
• Bookmark Toggle: Click the heart icon in the bottom menu bar to save.
• Edit Mode: Click the Pencil icon to launch the copy editor.
• Share Link: Click the Share icon to pull direct posting channels.
• Delete Post: Click the Trash icon and confirm to clear the log.
Phase 2: Post Generator View
Click "+ Generate New" at the top-right of your history panel to enter the AI creation wizard.
Step 1: Link Campaign Subject
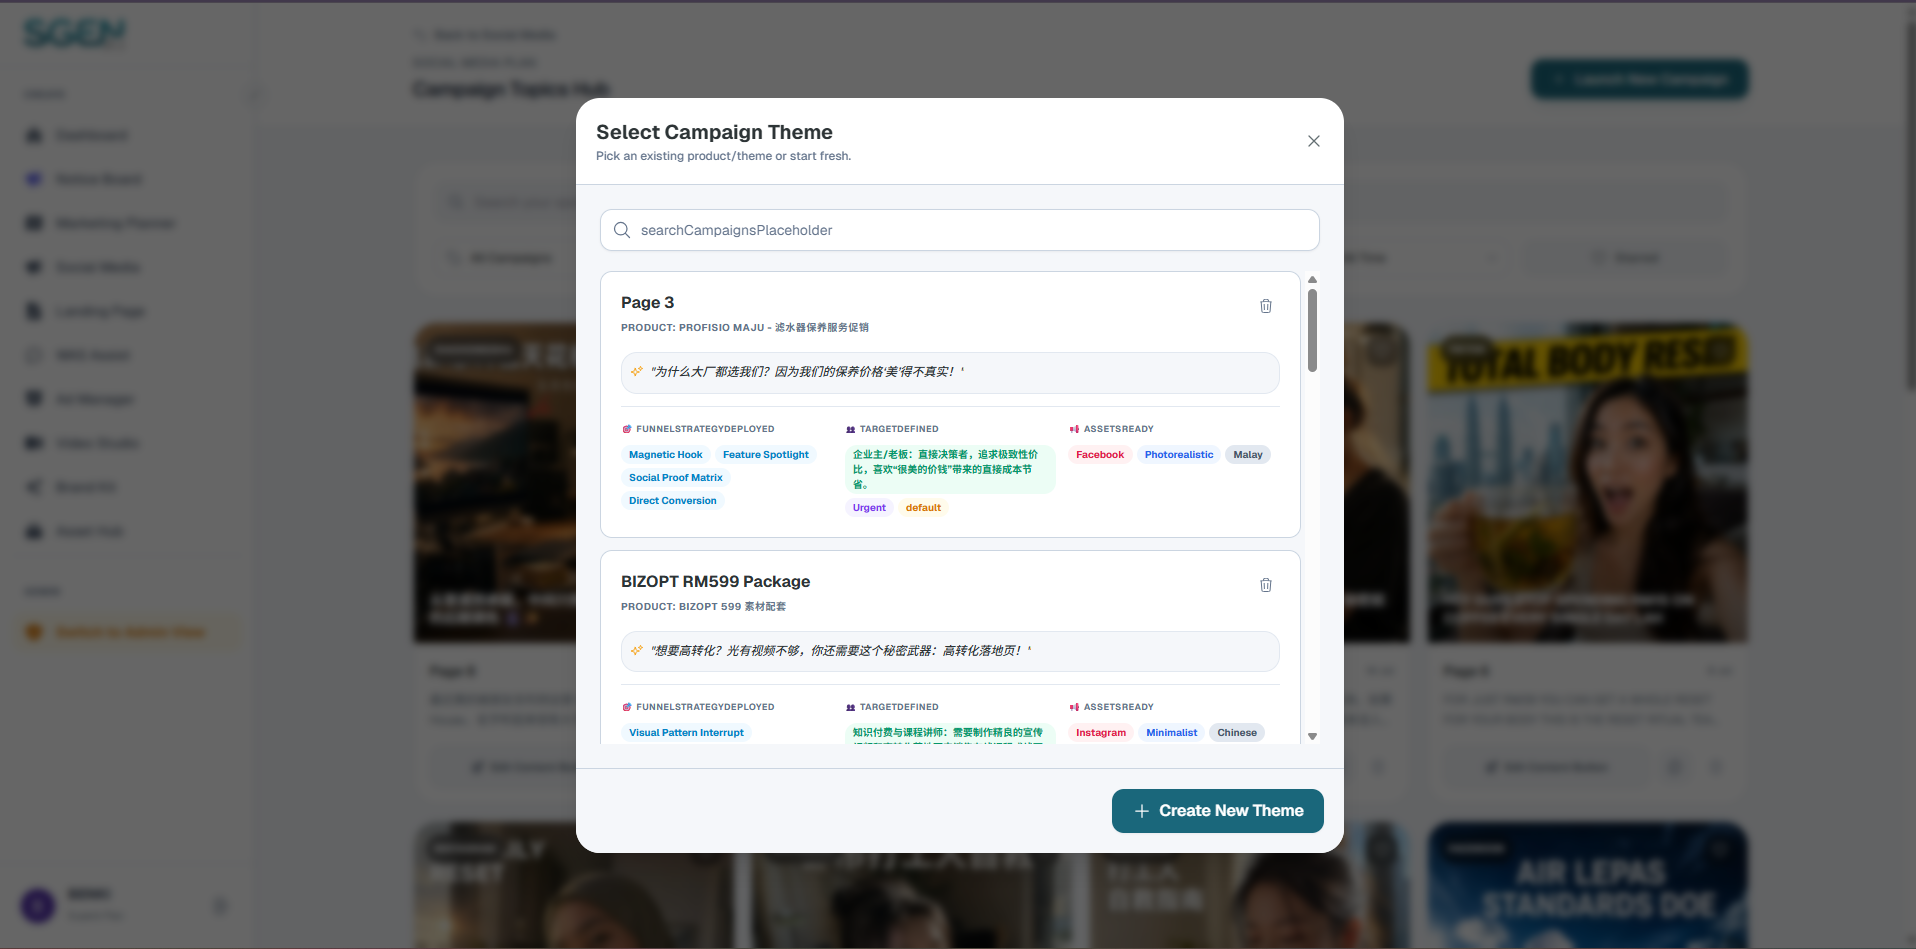
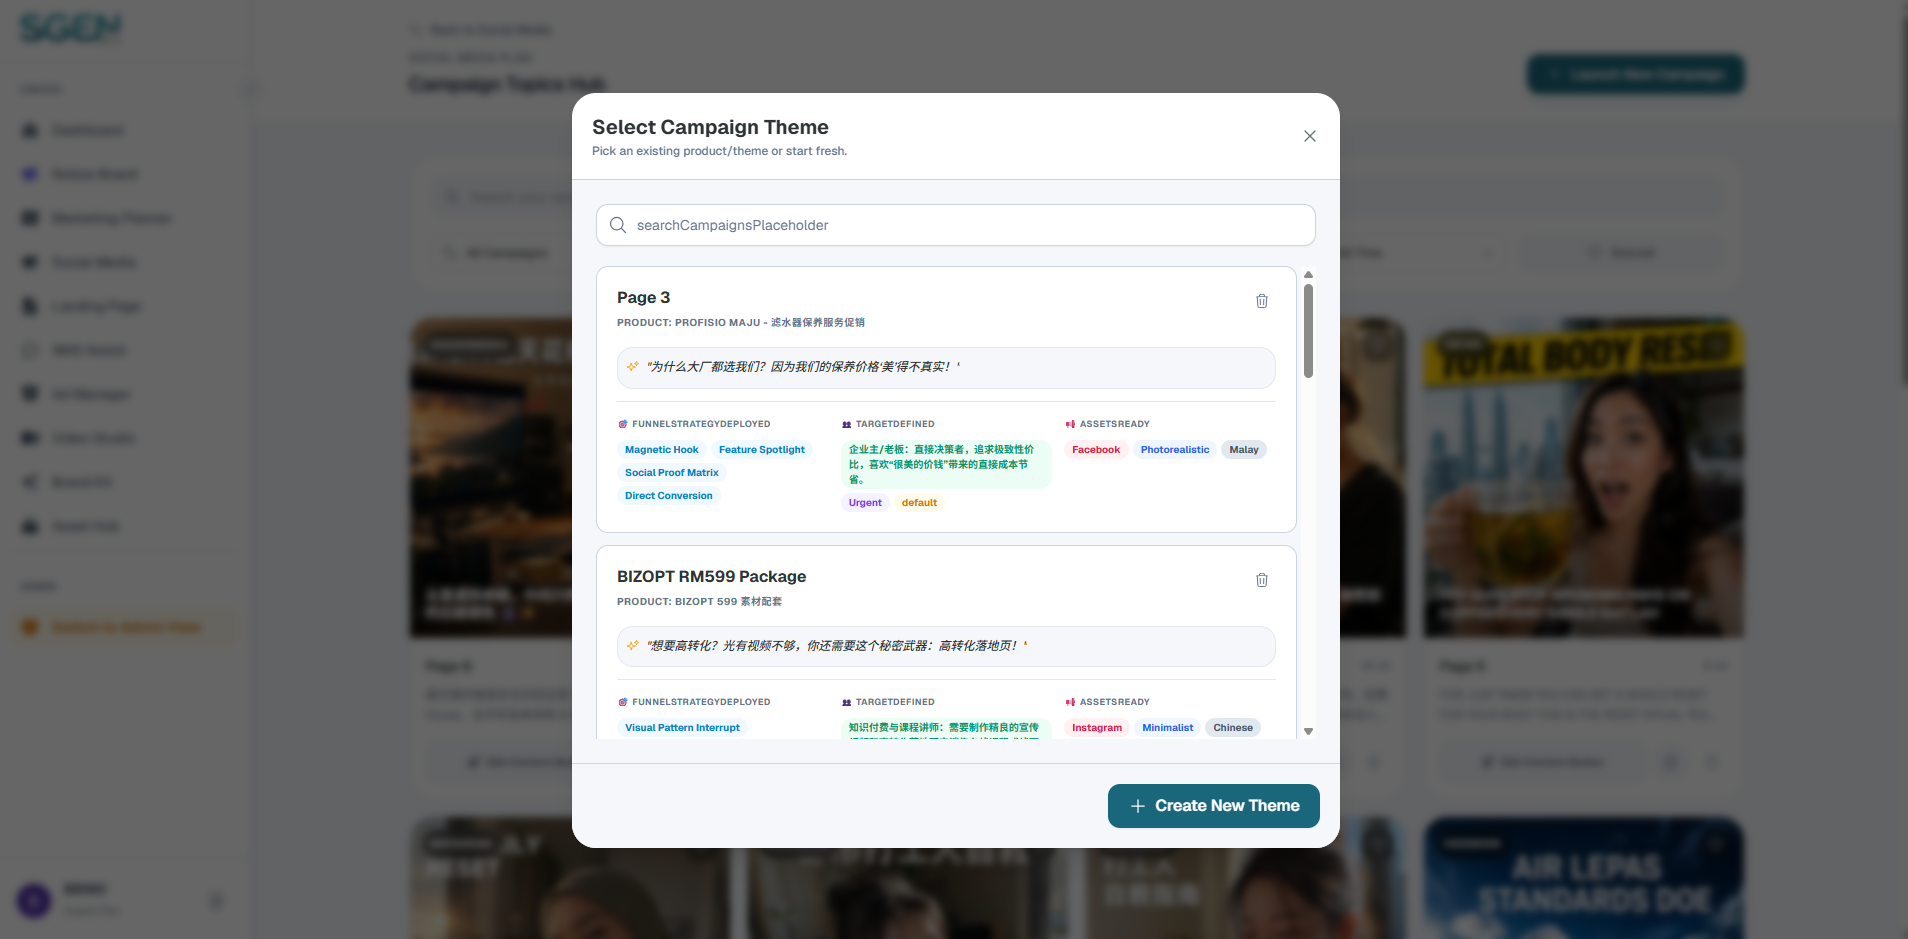
Select your target campaign or catalog item from the "Current Topic Dropdown Menu" at the top-left of the page. Sgen AI automatically matches settings from your product library files.
Step 2: Define Post Core Parameters
Configure parameters inside the 4 step cards layout wizard:
Card 1: Step 1: Product Insights (Assets & Brand Assets)
Click the "Step 1: Product Insights" card to open details configurations. Here, you catalog base product backgrounds and upload brand boards:
• Import from Asset HUB: Use "Select Product" from the dropdown to load names, descriptions, USPs, and graphics with one click.
• Manual Entry: Set Page Name and Product Name manually. Click "Product DNA / Brief" to expand details.
• USPs Management: Click to expand the USPs section. Enter manual items or select "AI Generate USPs" to load key features in a Multi-Select checklist.
• Brand Board Upload: Upload color presets, logo styles, or mood boards to direct AI image alignments.
• Reference Images Upload: Upload up to 6 camera shots or design reference graphics to guide photo styles.
Card 2: Step 2: Strategy & Funnel (Frameworks Selector)
Click the "Step 2: Strategy & Funnel" card to select copy directions based on targeted customer pathways. Choose creative frameworks (like AIDA, PAS) and click "Next" to commit configurations.
Card 3: Step 3: Audience & Tone (Voices & Niches)
Click the "Step 3: Audience & Tone" card to map buyer personas. Enter custom profiles, or choose "Import from Asset HUB". Select preferred writing models or brand voices from the Tone of Voice dropdown.
Card 4: Step 4: Platform & Creative Assets (Formats & Visuals)
Click the "Step 4: Platform & Creative Assets" card to adjust publishing outputs. Select target channels (Instagram, Facebook, LinkedIn, X), output translation language, and toggle "Generate Image" to define visual styles (Photorealistic, 3D Render, Illustration) and dimensions (1:1, 16:9, 9:16).
Step 3: Launch Creative Generation & Edit
Click "Generate". The AI handles configurations in the background and populates final copywriting copies, hashtags, and generated image graphics inside the right-hand Post Display window. You can edit text content directly, regenerate images, or upload custom illustrations.