Back to Features Guide
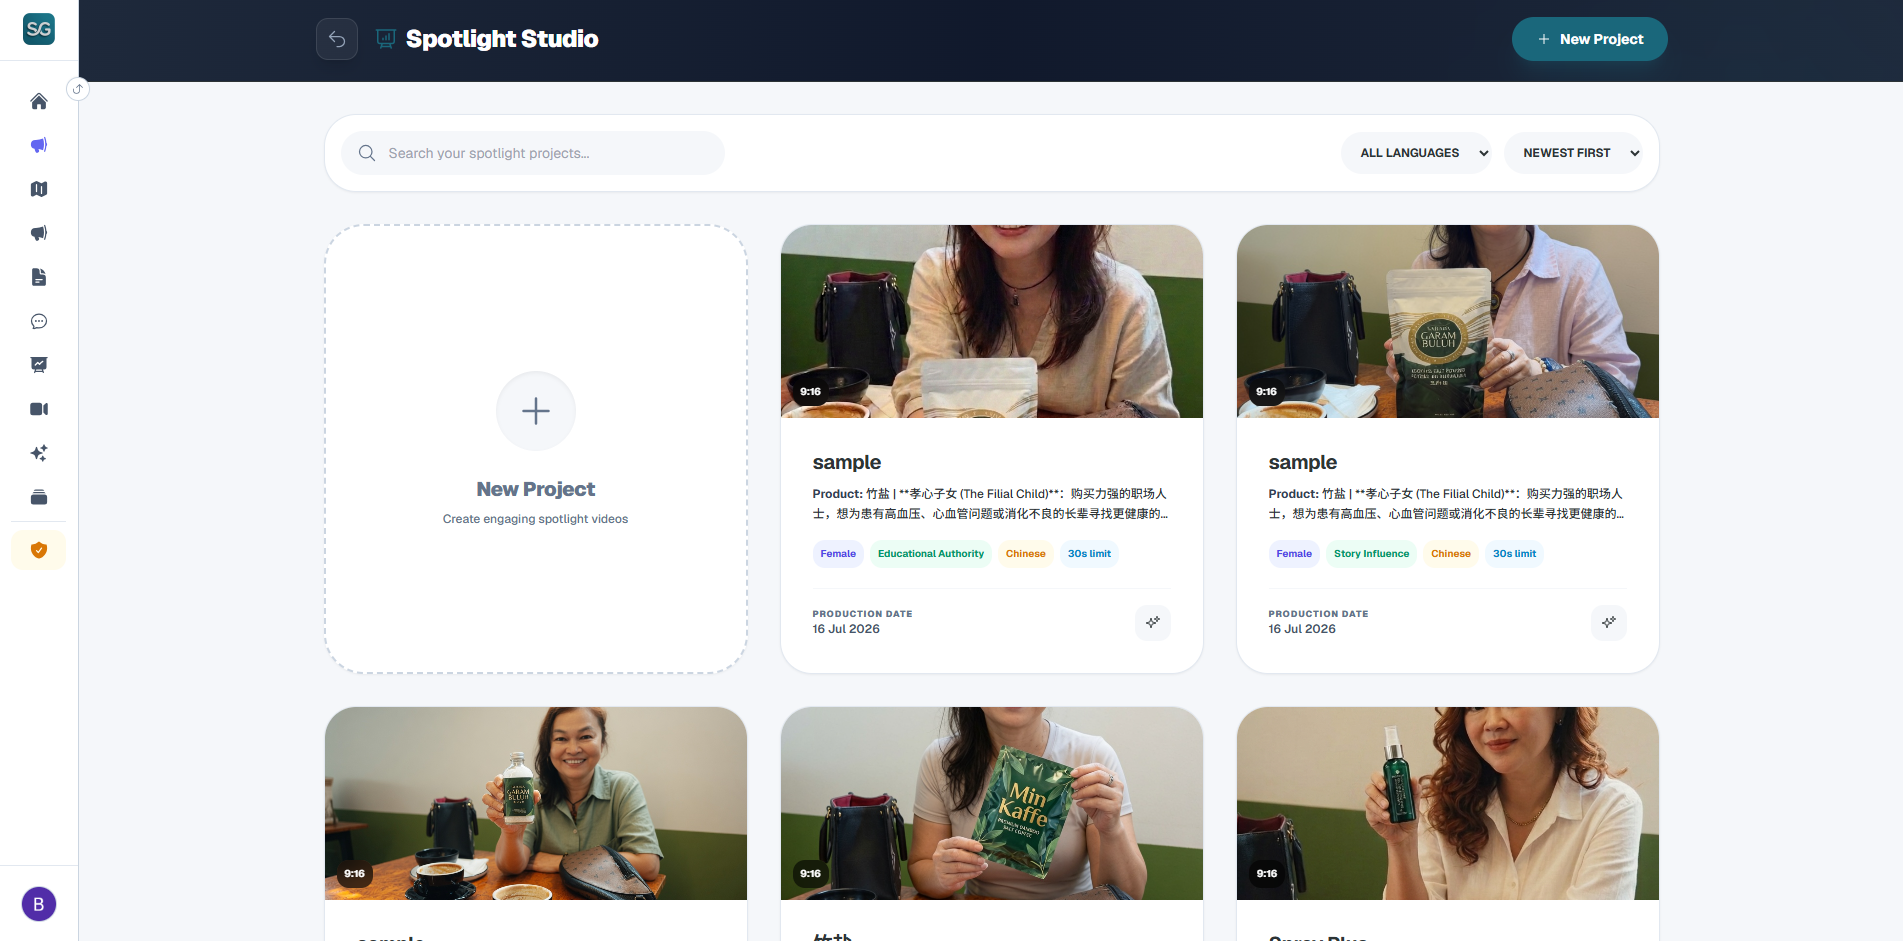
Phase 1: Project Creation & Configurations (Form View)
Click "+ Create Spotlight Project" in the upper-right corner of the lists page to launch the creation form:
1. Basic USP Parameters
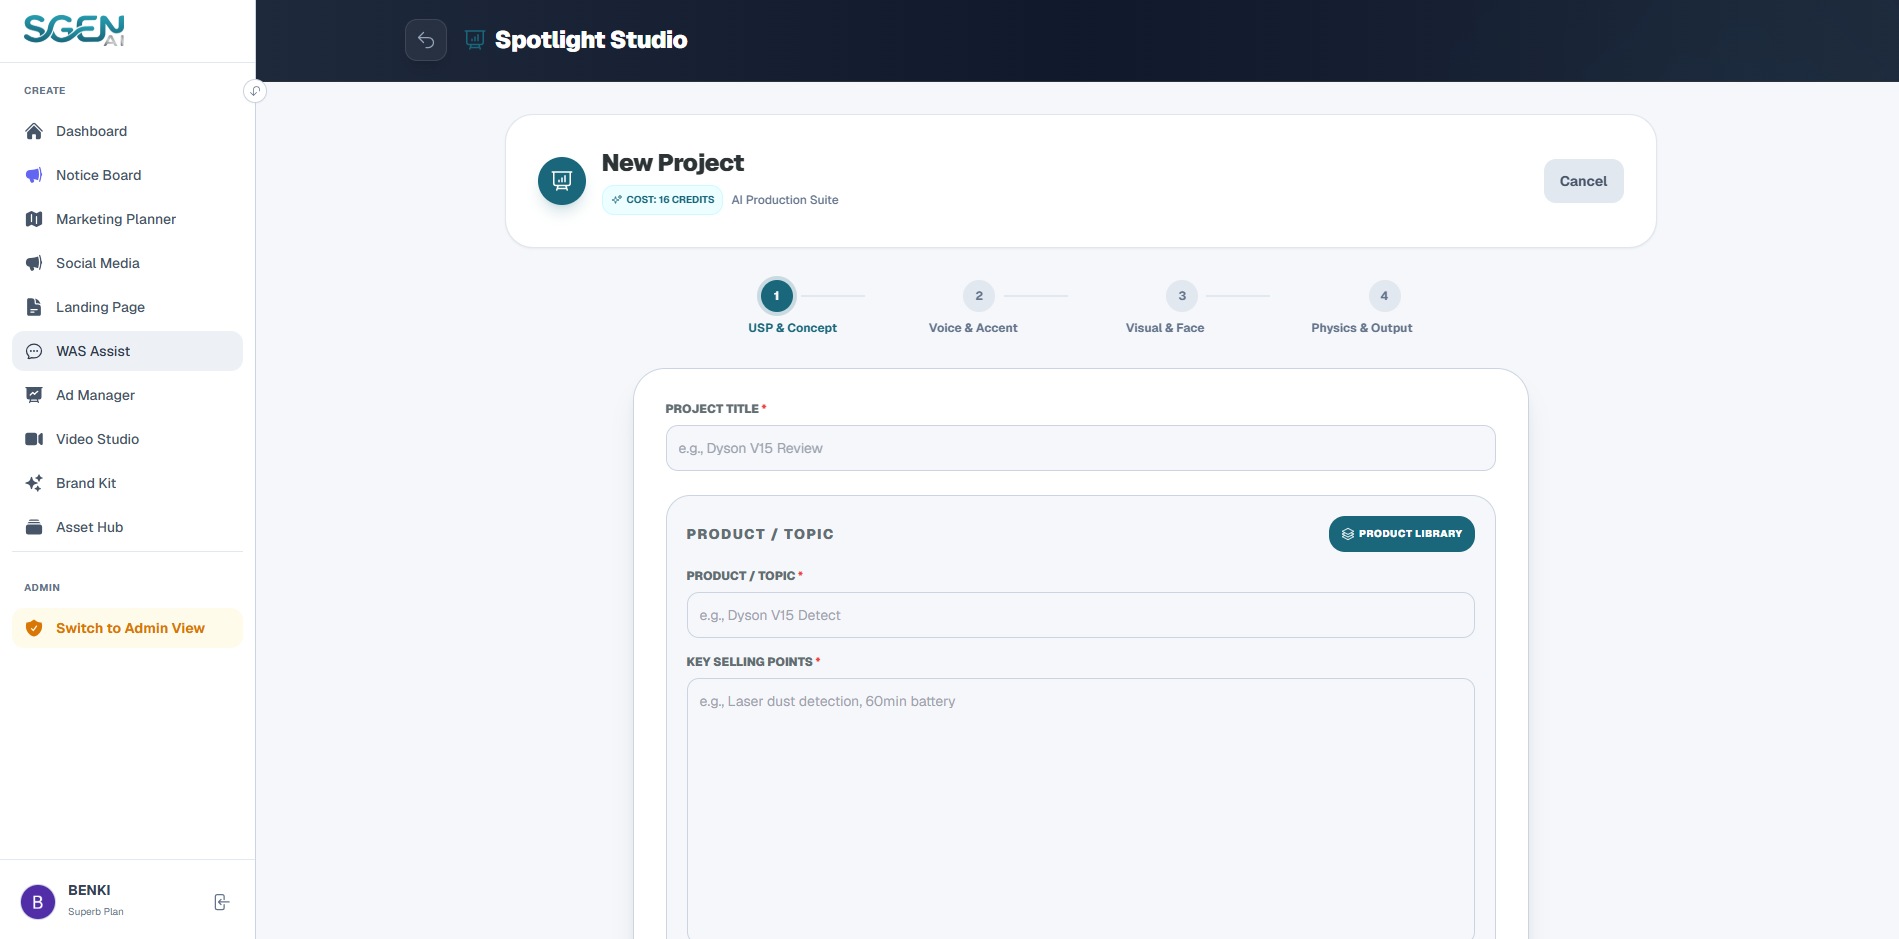
- Project Title Fill in an internal management title for this project.
- Import from Asset Hub Click the "Import from Asset Hub" button to select items from Asset Hub. This auto-populates product names and Unique Selling Points (USP).
- Target Audience Define target demographics (e.g., Malaysia skin care buyers aged 25-35).
- Speaker Tone Outline characteristics for the AI presenter (e.g., passionate neighbor, clinical formulation scientist).
2. Voice Accent Selection
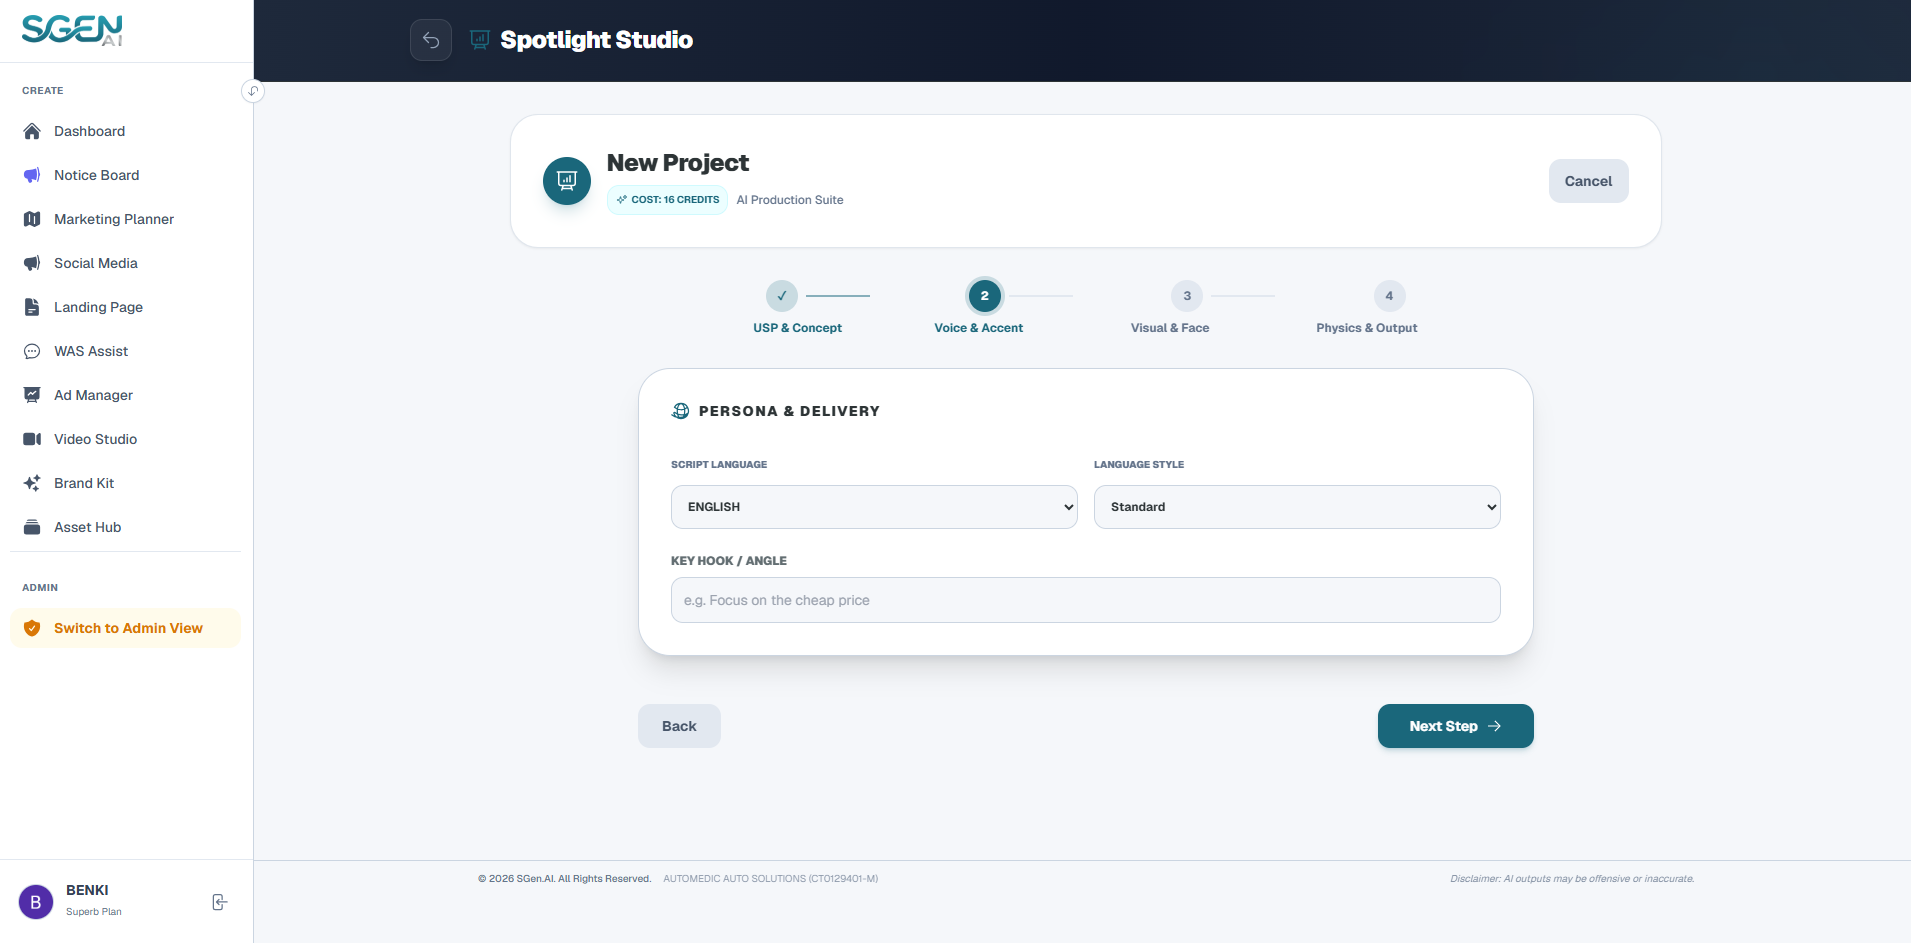
- Target Language Select the presenter's language (English, Chinese, Malay, etc.).
- Accents & Dialects Sgen AI dynamically displays native localized accents:
- - English: Standard British/American, Manglish (Malaysian Slang), or Corporate Tone.
- - Chinese: Mandarin, Malaysian Chinese Dialect, or Cantonese.
- - Malay: Baku (Standard), or KL Slang (Slang).
- Key Hook & Angle Input specific marketing focal hooks (e.g., "Hook users within 3 seconds using hair-loss pains, then outline silica-free benefits").
3. Digital Presenter Face & Visual Style
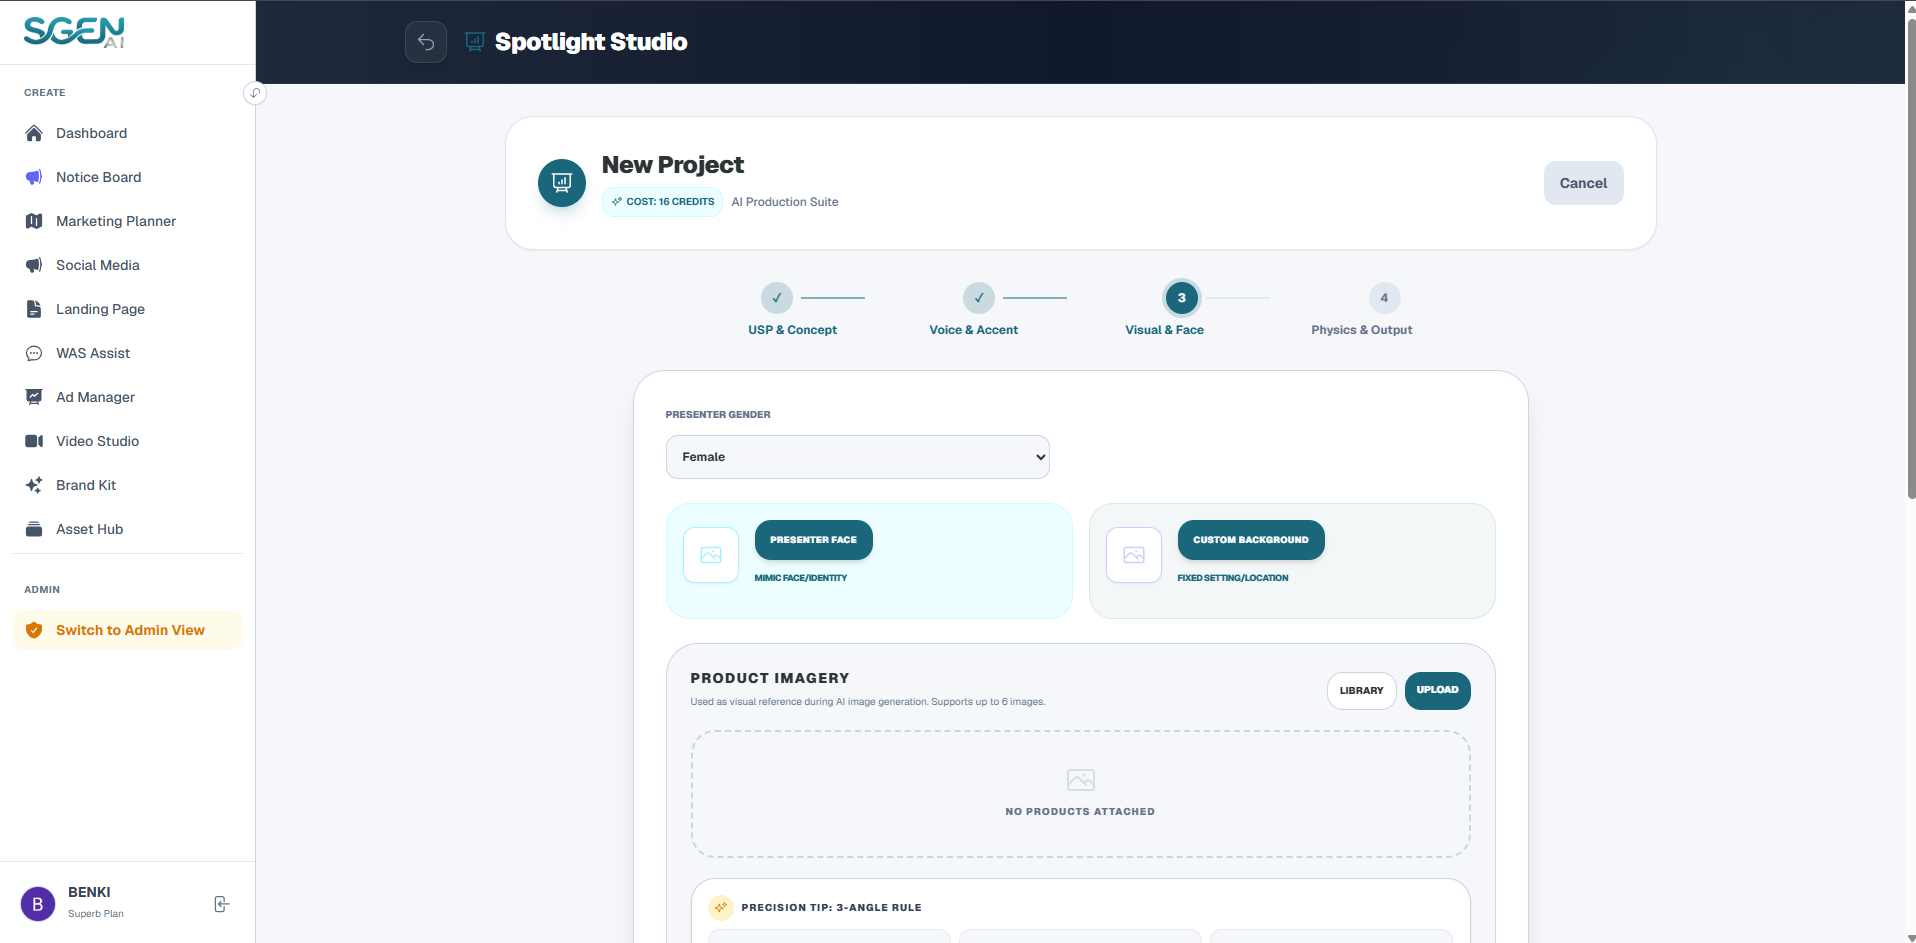
- Voiceover Gender Select Female or Male voices.
- Reference Portrait Face Upload a portrait image to serve as the face layout template. Tick "Preserve Presenter Look" to maintain facial visual consistency across generated videos.
- Custom Background Upload backdrops or studio templates to serve as virtual backgrounds.
- Product Images Insert Batch upload up to 5商品images to serve as overlay graphics during presentations.
- Shot Type & Visual Vibe Choose lens framings (Close-up, Wide, Far) and styles (Realistic, Exquisite, Lifestyle, Professional Business).
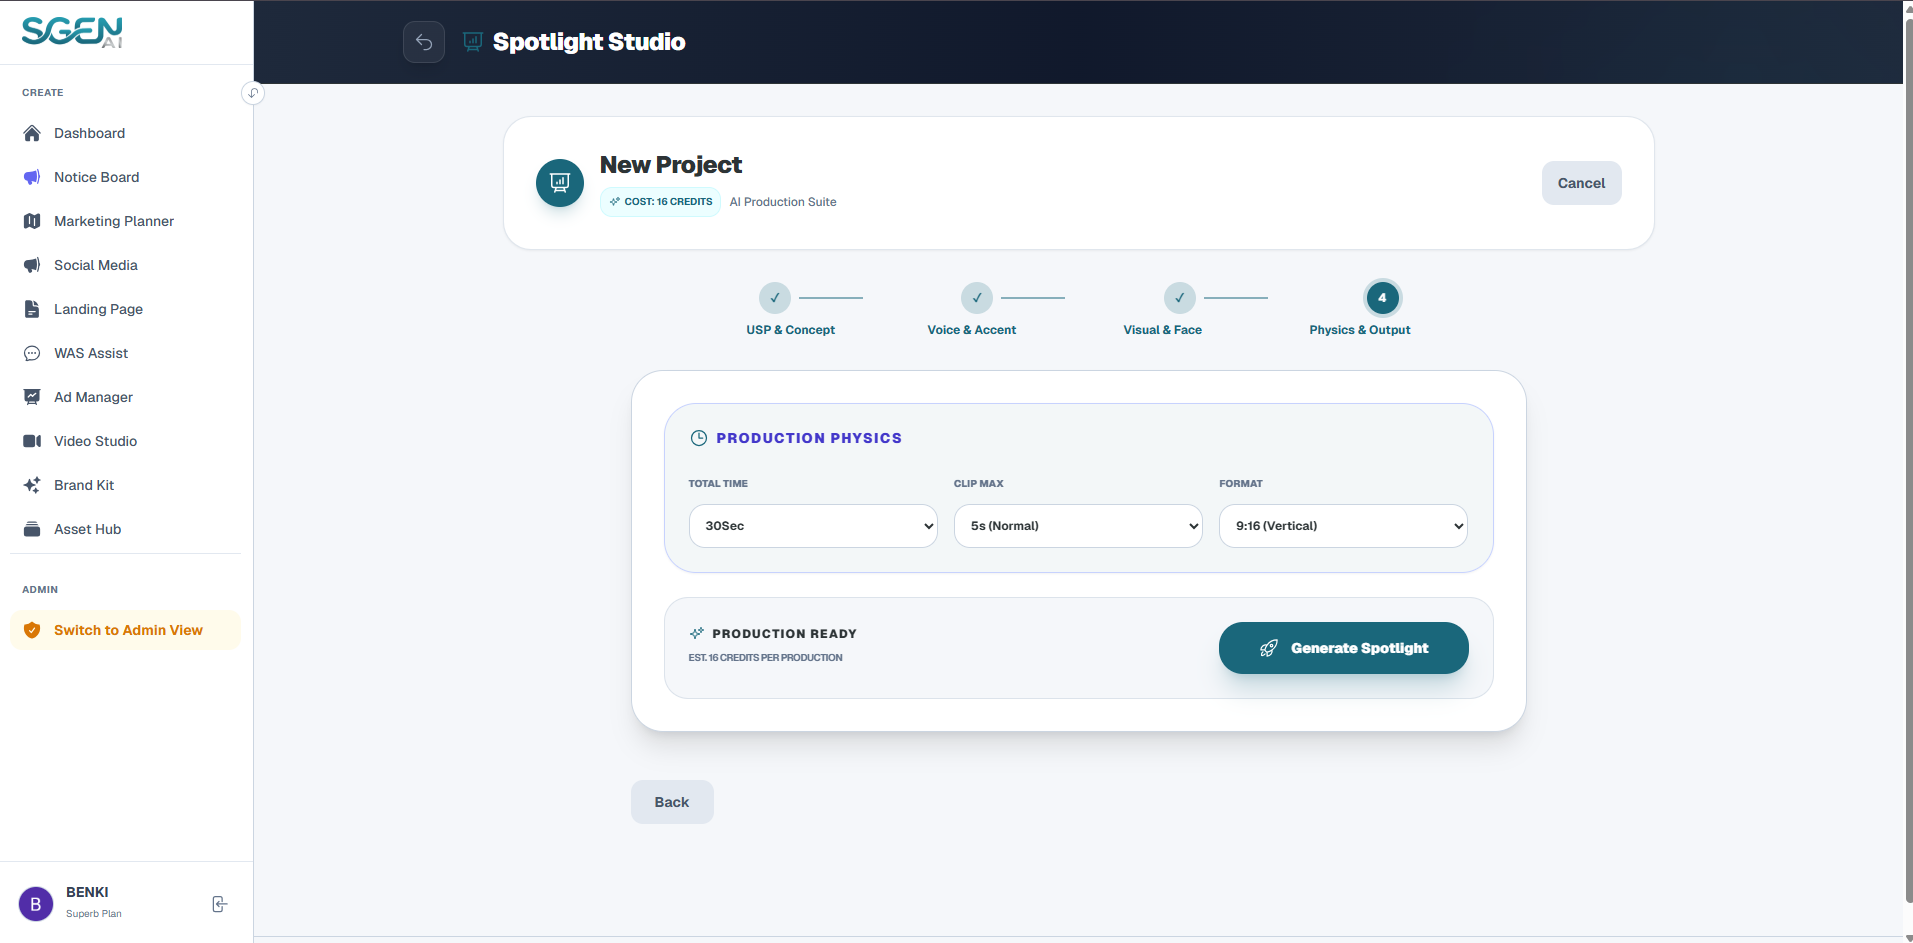
4. Frame Ratio & Duration Bounds
 Action: Click "Generate Script" to run.
- Duration Settings Select target seconds (e.g., 30s, 60s).
- Clip Counts Choose partition slots. More cuts mean faster editing pacing.
- Aspect Ratio Select 9:16 (vertical mobile format - recommended) or 16:9 (horizontal format).
- AI Core Engine Choose the model cards to process screenplay layouts.
Action: Click "Generate Script" to run.
Phase 2: Storyboard Scripts & Local Clip Rendering
After compiling the config page, you are redirected to the Script Workspace workspace:
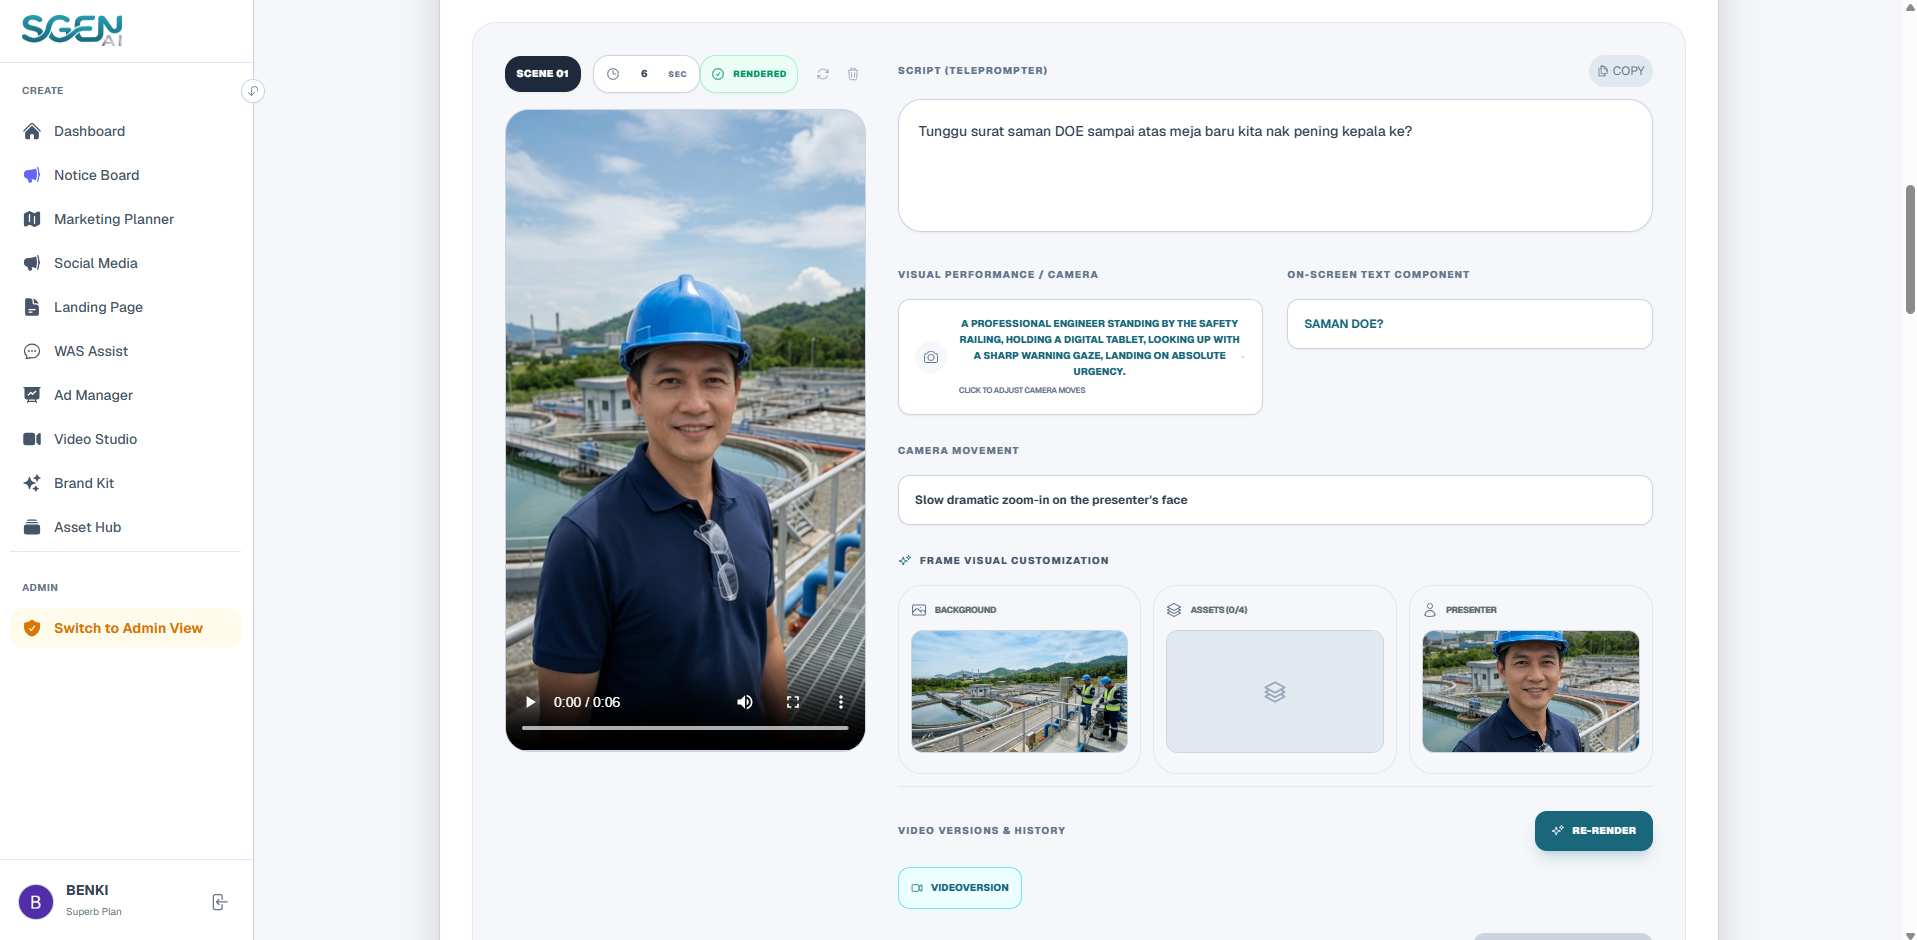
1. Frame Script Cards Layout
Each card represents one specific Clip detailing:
• Script Text: Auto-generated copy texts (fully editable).
• Camera Instruction: Cinematic cues for transitions.
• Scene Assets: Placement of custom overlays or backdrops.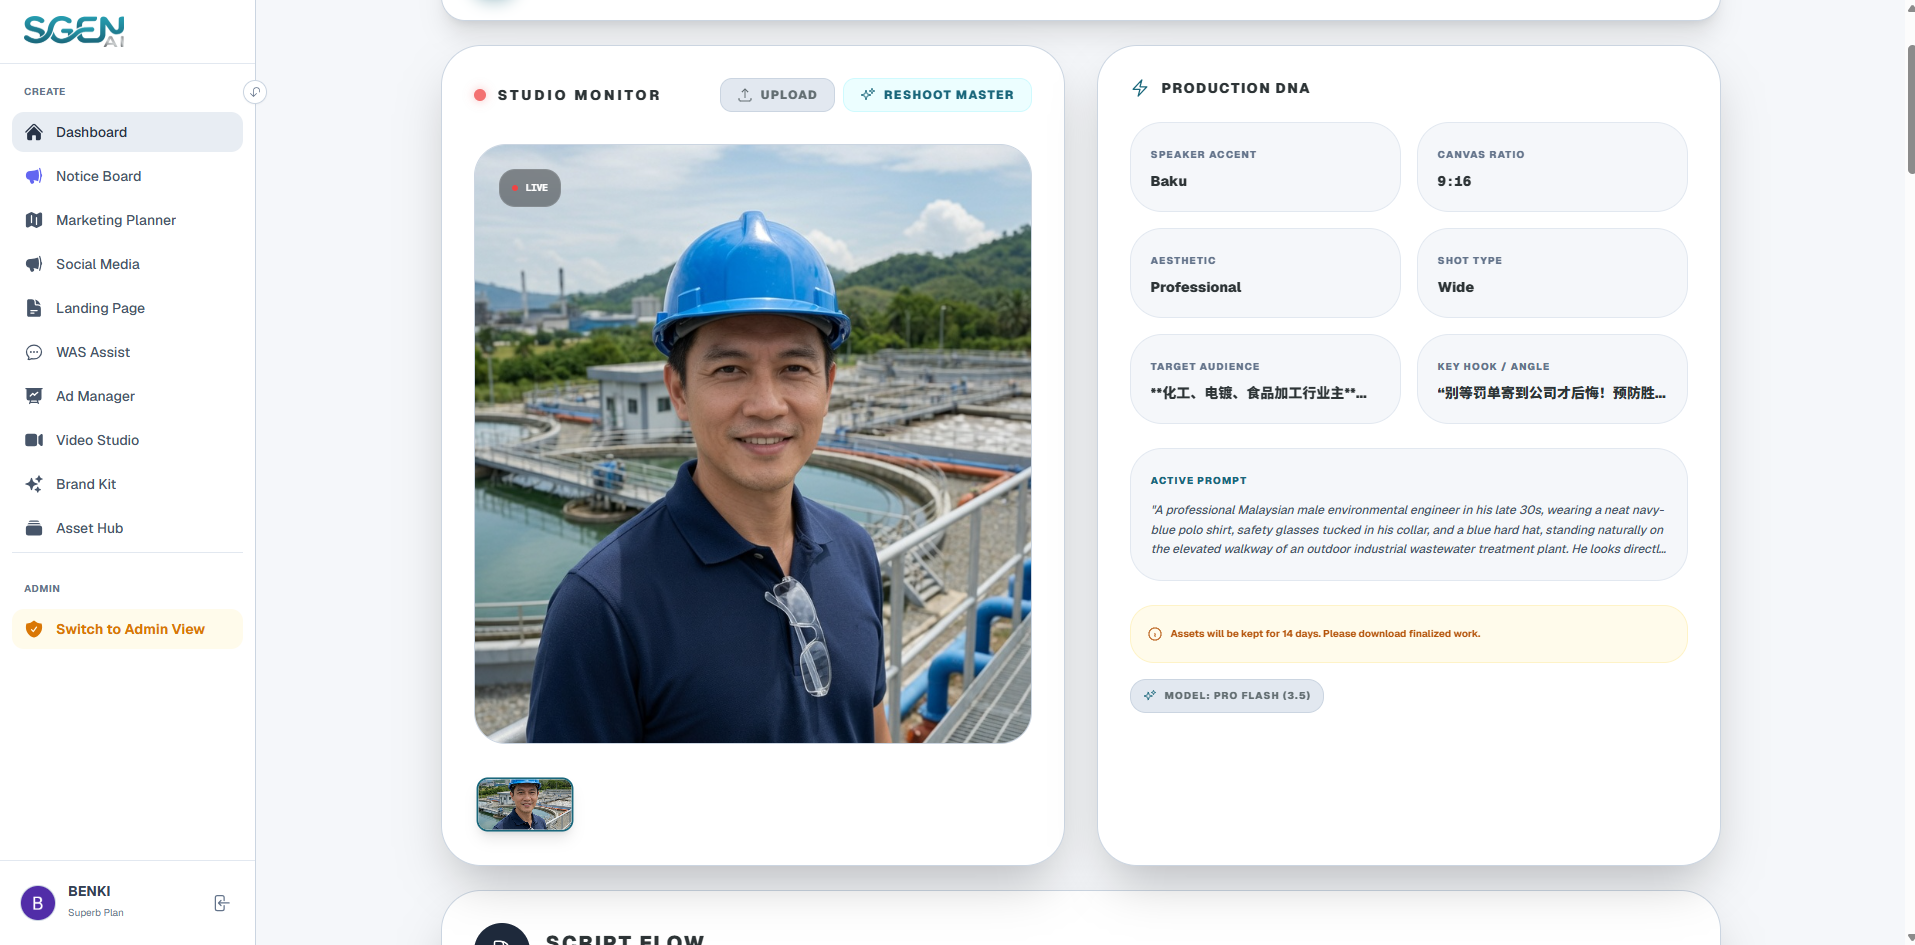
• Camera Instruction: Cinematic cues for transitions.
• Scene Assets: Placement of custom overlays or backdrops.
2. Generate Static Scene Frames
Click "Generate Frame" under the card. The AI renders a static Scene Master Image based on character and background settings. You can re-render frames and toggle through Version 1, 2, etc.
3. Generate Digital Presenter Clips
Click "Generate Video". Sgen AI translates script texts into localized voiceovers (TTS), matches facial expression lip-sync paths, and renders the specific scene video clip. Multiple version renders are supported.
Phase 3: Video Assembly & Merging
After rendering all separate clips, click "Export & Merge" in the upper-right corner to compile the final video:
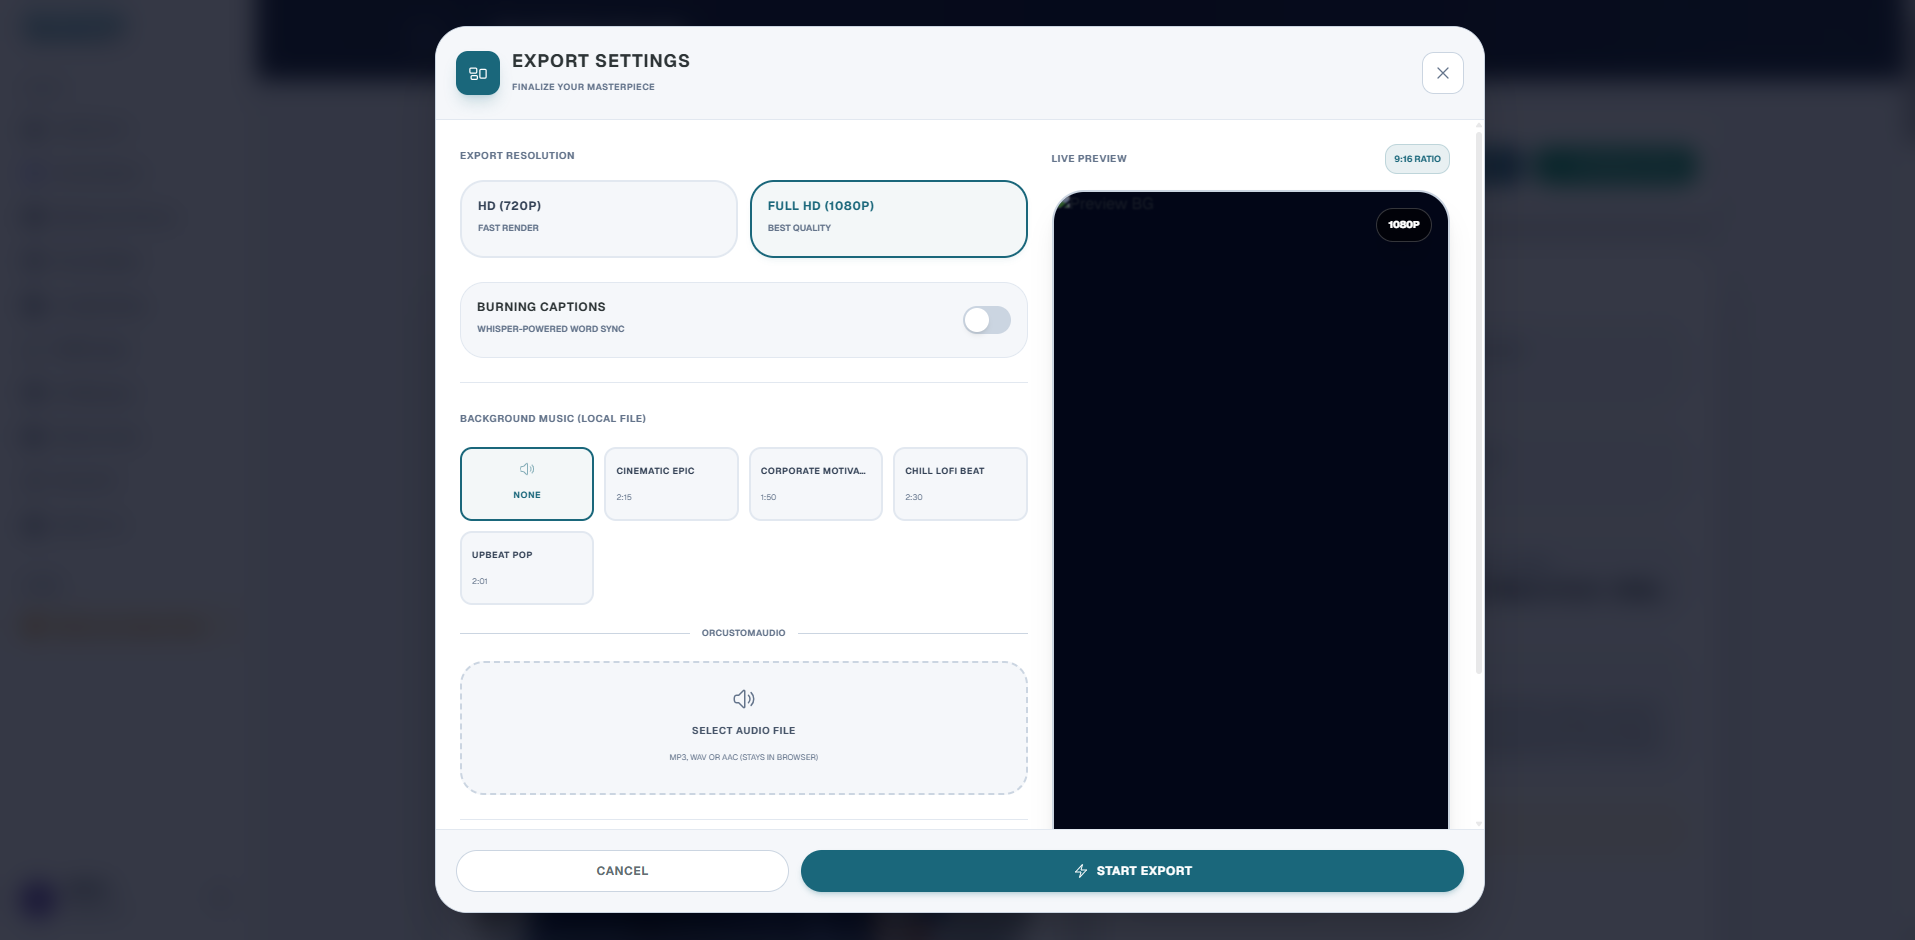
1. Output Resolution
Select between 1080p High Definition or 720p Standard quality.
2. Captions & Subtitle Style
Tick "Show Captions" and pick from dozens of Google font settings (Inter, Poppins, Bebas Neue), colors, alignments, and entry transition animations (Pop, Fade, Slide Up).
3. Background Tracks (BGM)
Select audio clips from the Free BGM Library (Cinematic Epic, Chill Lofi, Upbeat Pop) or upload local MP3 files. Adjust voice/BGM volume balances manually.
4. Compilation Download
Click "Merge & Render". The system compiles all clips, overlays subtitles, mixes background audios, and outputs the final MP4. Click "Download Video" to save it to your local files.