Back to Features Guide
Step 1: Connect your WhatsApp Account
Access Module
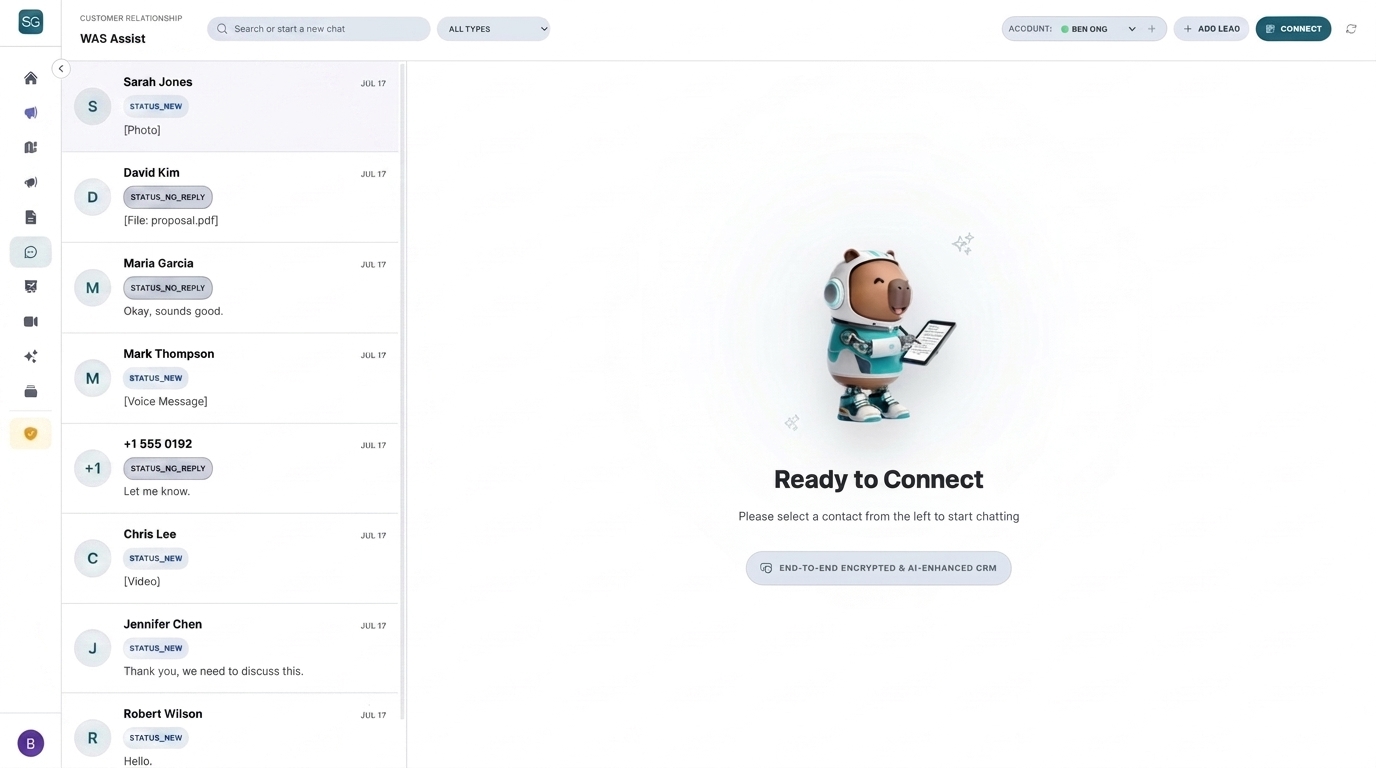
Click "WAS Assist" in the left sidebar directory of the dashboard.
Initialize Linking QR
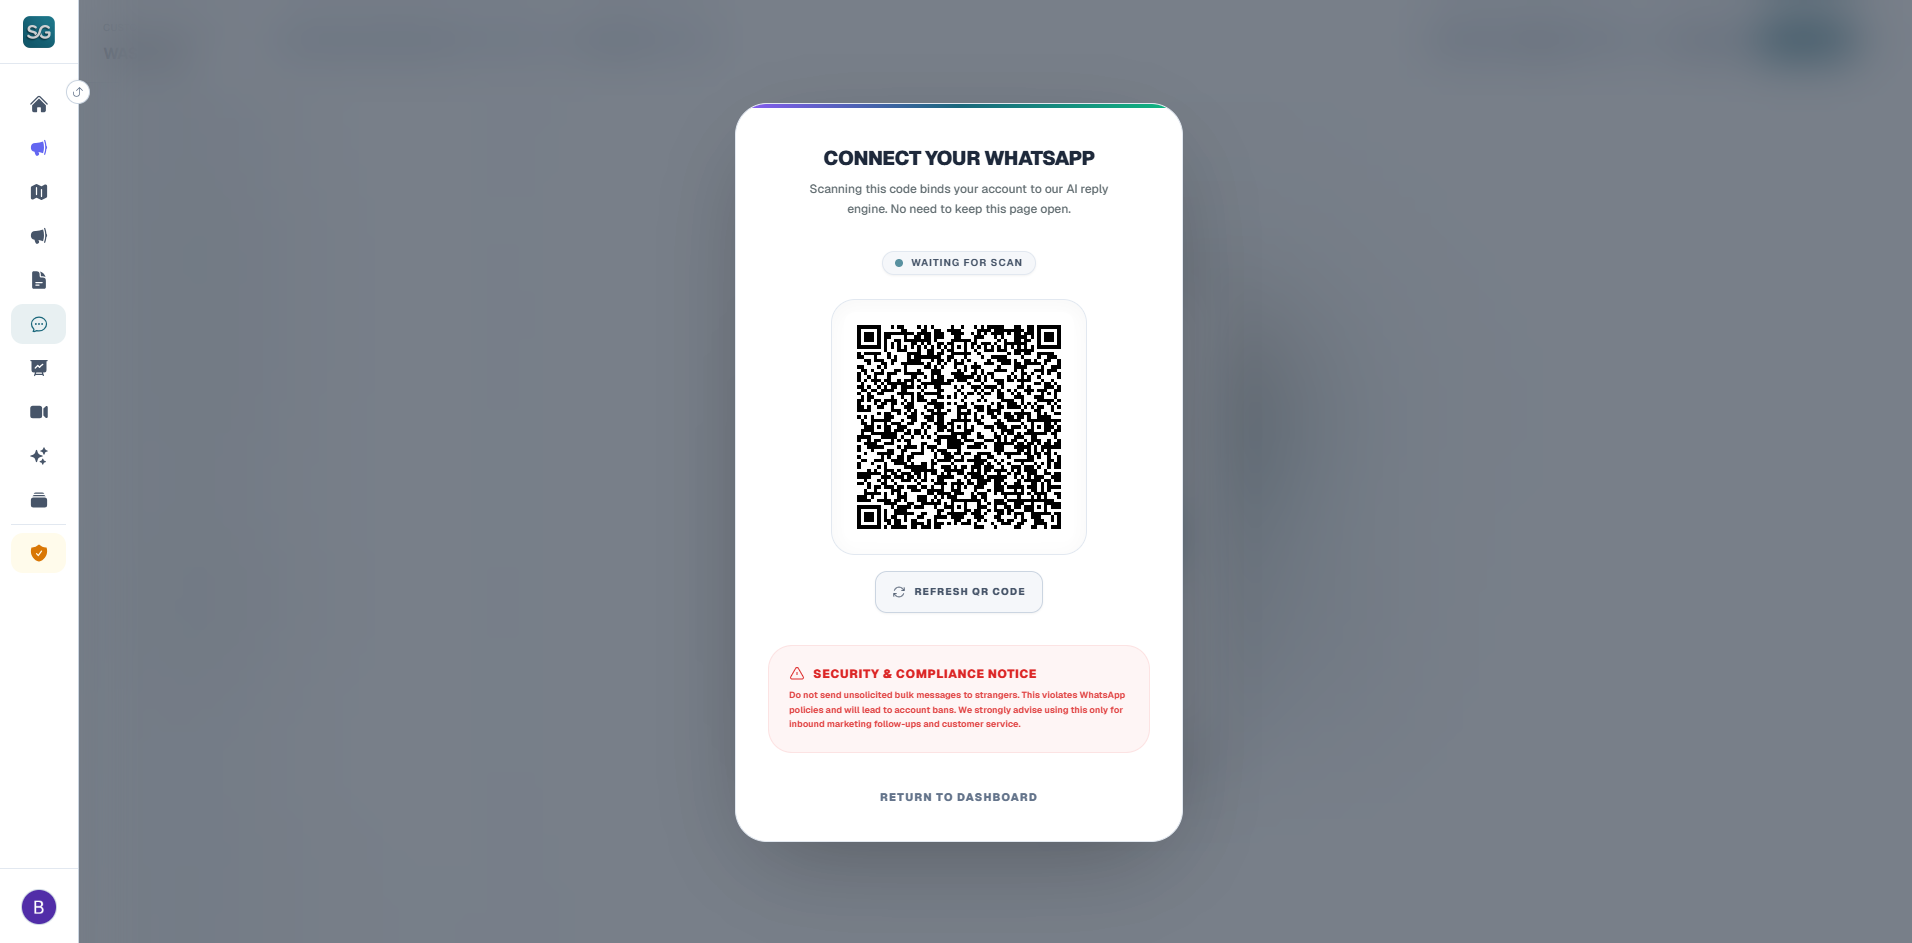
If no accounts are linked, click the green "Link WhatsApp via QR" (Live QR Link - QR icon) button in the center.
Retrieve QR Code
A pop-up modal opens showing status "Initializing" with a loading animation. In a few seconds, once status switches to "QR Code Ready", the QR code will load in the window. (Note: Click "Refresh QR Code" below if it times out).
Scan with Mobile Device
Open WhatsApp on your phone, navigate to Settings → Linked Devices → Link a Device, and align your camera with the desktop QR code.
Verify Link Status
Upon scanning, a green success window appears with status "Connected". Close the modal; your WhatsApp chat lists will load on the left sidebar.
Step 2: Connect Leads to Asset Hub Product Brains
To let the AI chatbot understand specific user inquiries, you must bind each lead to their respective product setup:
Select or Add Leads
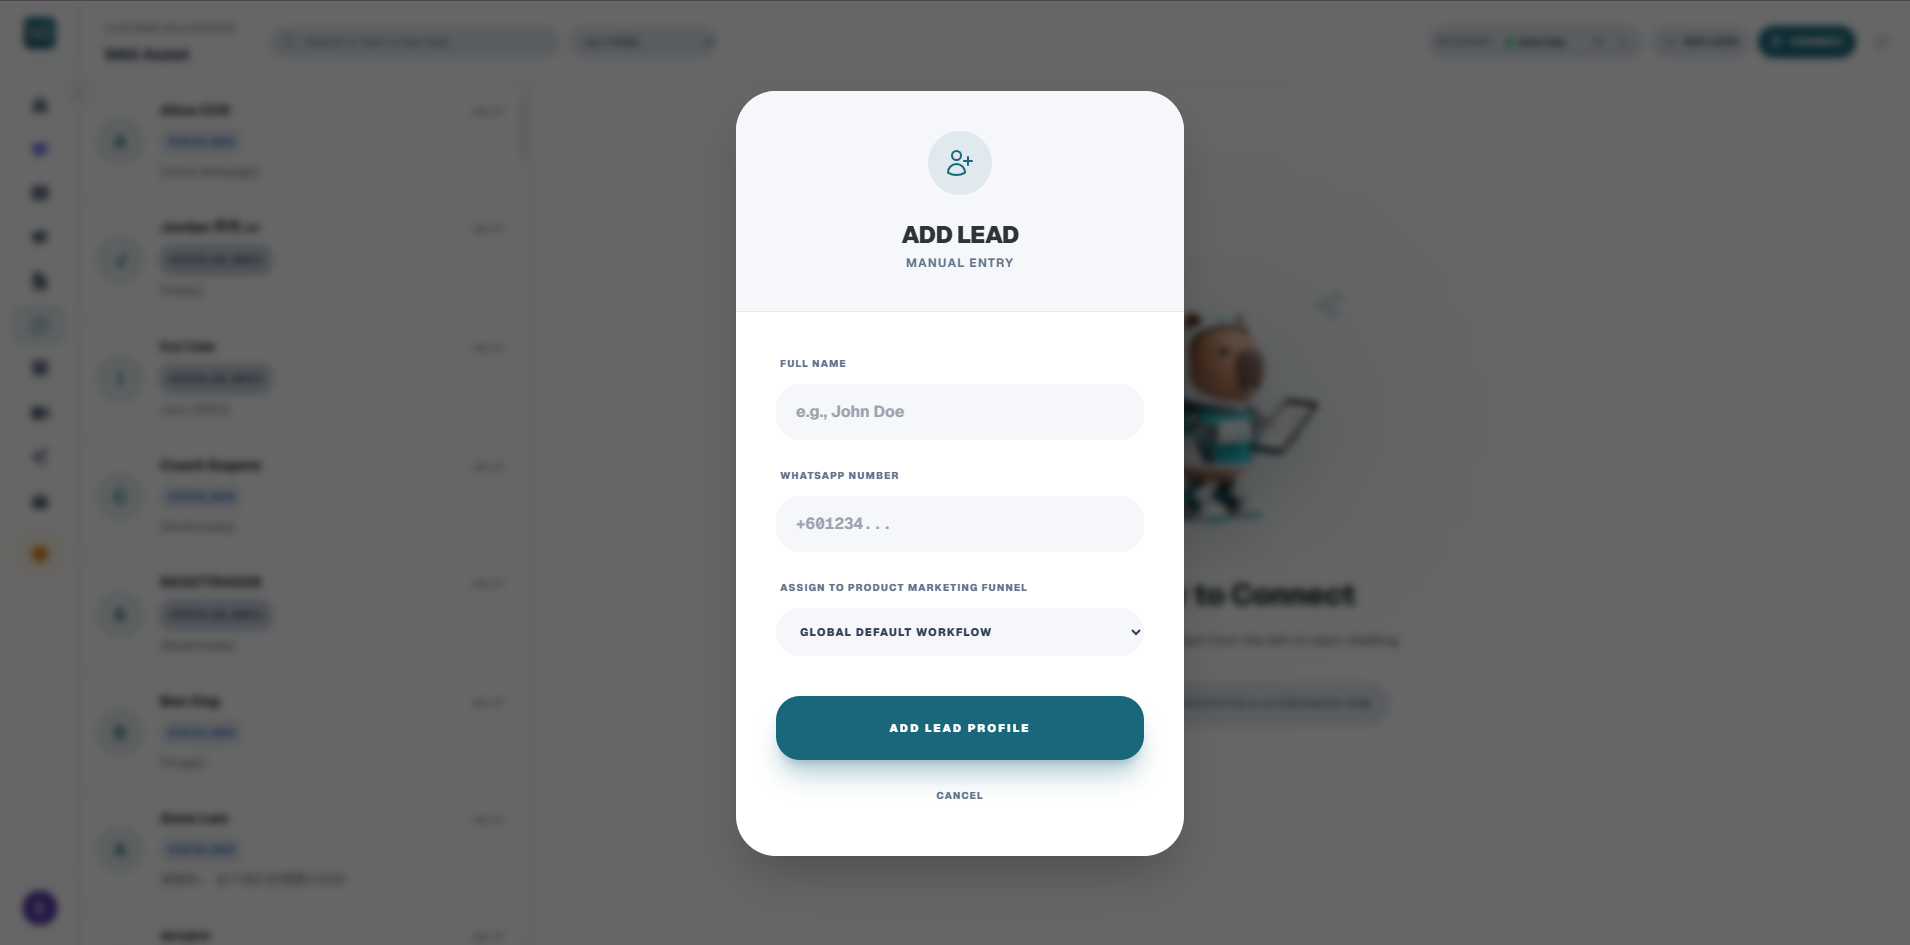
For new customers, click "Add Lead" (user icon) at the top of the left sidebar. For existing chats, click the lead in the listing and click "Edit" in the right-side details panel.
Bind Products
In the editor dialog, open the "Product / Asset" dropdown menu. Select the matching product that hosts your designated Asset Hub knowledge base.
Commit Changes
Click "Save" to apply product parameters.
Step 3: Subscribe & Activate AI Auto-Replies
Locate Toggle Trigger
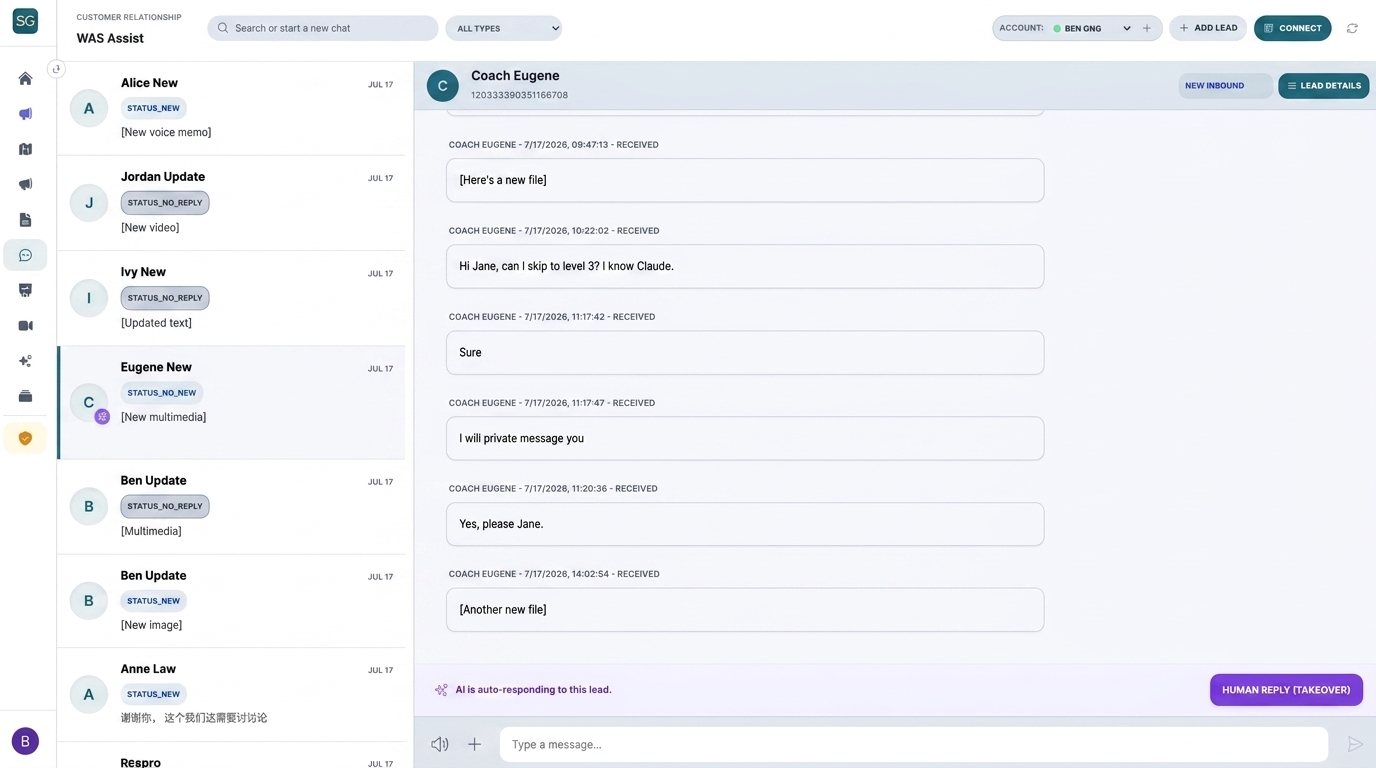
Click on the lead in your listing to open their chat viewport. Look at the bottom of the right-side detail drawer to locate the "AI Auto-Reply" toggle (defaults to gray "AI Offline").
Confirm Credit Spend
Click the toggle. A confirmation box pops up stating: "Activating AI Auto-Reply (WAS Assist) consumes 300 credits per month. Confirm activation?" Click "Confirm" to deduct credits and activate.
Verify Active Badges
The toggle turns into a bright purple button labeled "AI Armed" (with sparkles ✦ icon). A purple sparkles ✦ icon appears on the bottom right of the lead's avatar badge, indicating AI is successfully handling the conversation.
Configure Auto Reply Settings (Asset Hub)
To refine how your active AI agent handles chat responses, open the corresponding product settings in Asset Hub and navigate to "WAS Assist Auto Reply Settings":
.png)
- Trigger Words Designate custom keyword filters to prompt specific reply hooks when user messages match target words.
- Automated Greetings Configure customized welcoming templates triggered automatically when a new WhatsApp lead starts a chat session.
- Instruction Rules Define specific guardrails, business hours guidelines, and behavioral boundaries for your active WhatsApp auto-replies.
Step 4: Manual Interventions & Human Takeovers
You can override the AI chatbot and take control of chats at any moment:
Method A: Direct Messaging (Automatic)
Type your manual message in the central chat drawer and click "Send", or attach a local file. WAS Assist detects manual keystrokes and immediately switches the state to "AI Offline" (purple badge turns off), preventing AI from interrupting.
Method B: Top Header Status Banner Click
During active AI states, a purple banner spans the top of the chat view. Click "Human Takeover / Reply" on the right side of the banner. The AI pauses immediately, reverting back to full manual mode.